Off-road vehicles are frequently subjected to intense abuse. Many original parts surrender to excessive use, and their replacement must be done after a certain time. Of these, CV joints are on top of the list of components requiring replacement. Several ATV riders also do preventative axle replacement with higher-quality HD driveshafts.
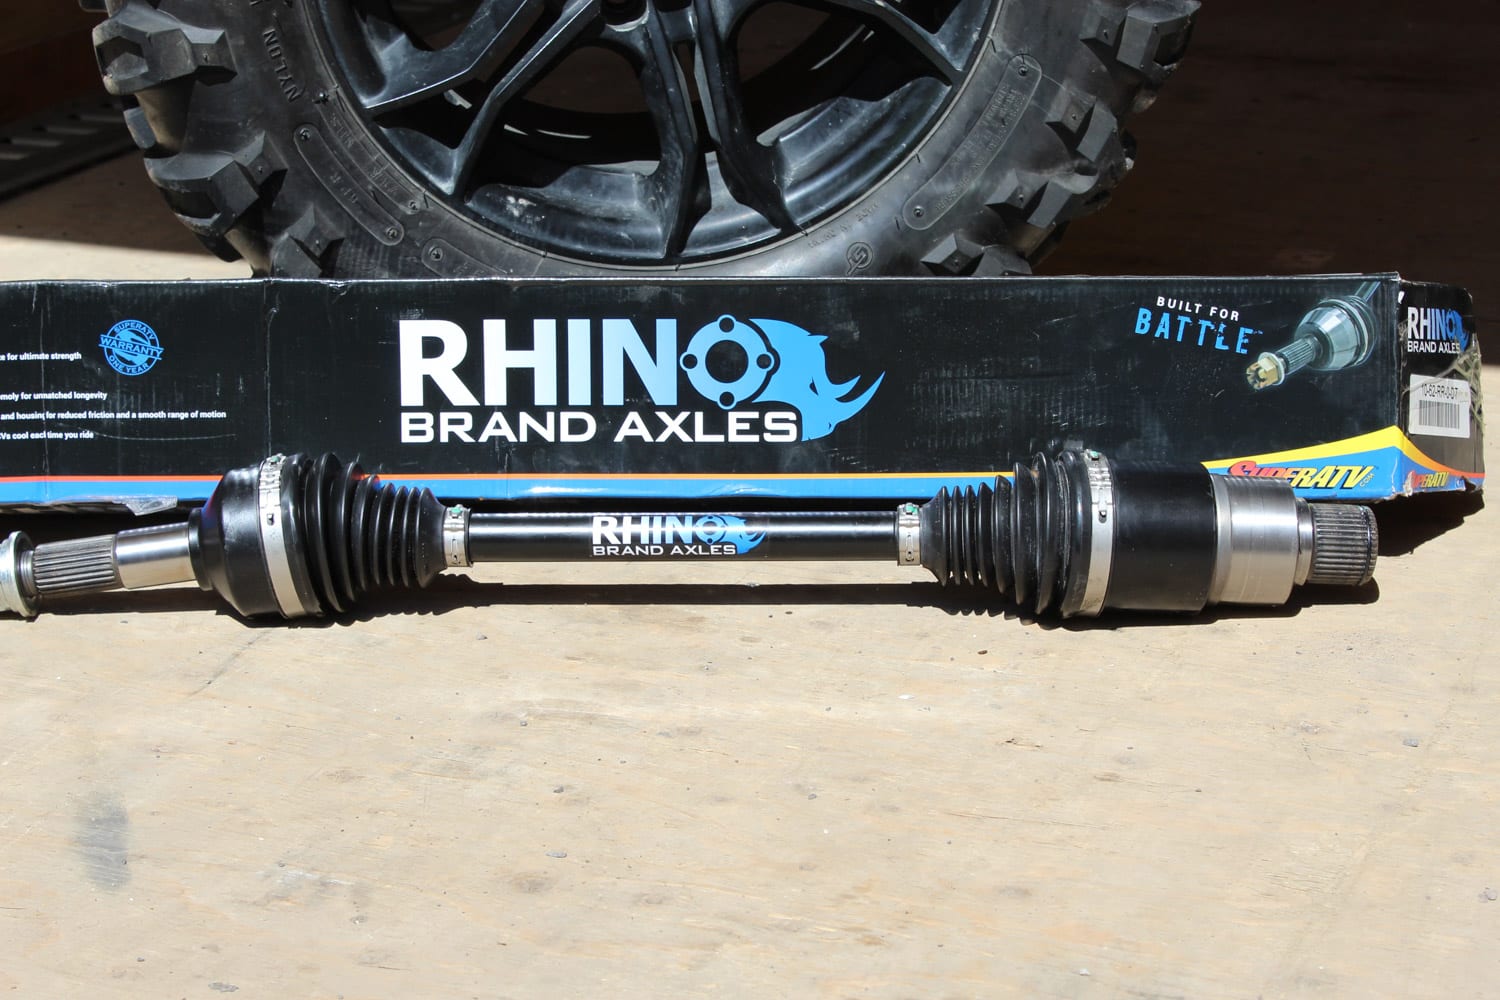
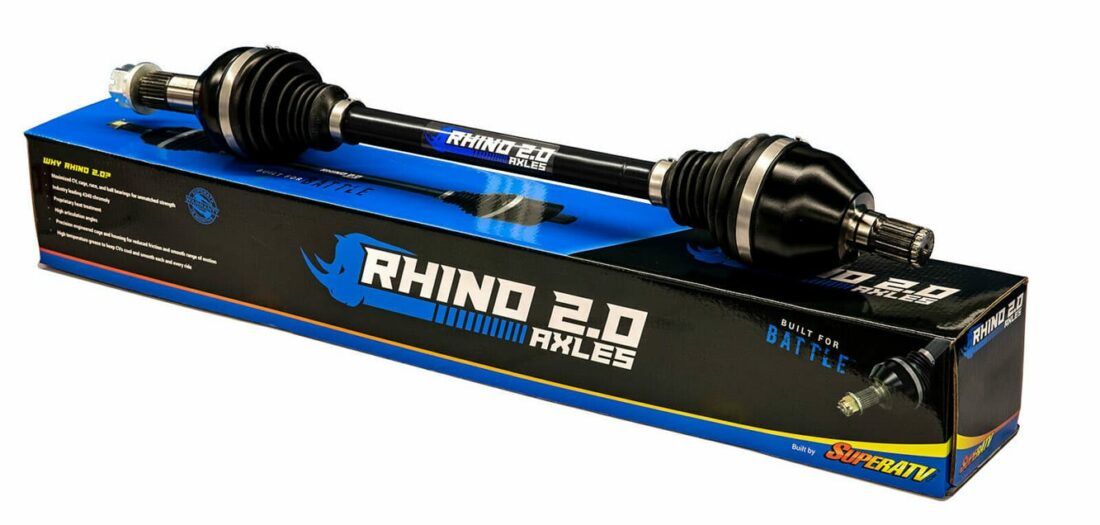
Enthusiasts have the possibility of upgrading their CV joints with superior quality parts, thanks to the Rhino brand axles that raise the established standards to the supreme level. They’re made from heavy-duty 4340 Chromoly steel, one of the most robust materials in the industry. With an excellent strength-to-weight ratio, these axles are built for extreme conditions. They exceed the highest expectations and deliver performance not found in OEM or aftermarket axles. Every CV joint kit is specifically designed for ultimate strength and protected by a puncture-resistant TPE (thermoplastic polyester elastomer) boot. Rhino brand axles leave no stone unturned: synthetic grease is used to lubricate and keep them cool whenever they need to be put to the test. Each axle is precision-engineered to provide the ultimate balance of strength and durability.
Whether used with oversized tires, a set of tracks, over rough terrain, or with an impressive amount of horsepower, they are built to withstand the harshest conditions. Their articulation angle is greater compared to OEM equipment. This feature, combined with a suspension lift kit, also proves to be the perfect match for tackling obstacles and muddy holes.
Replacing a CV joint with a higher quality axle can be done in a very short time with just a few tools. You should plan 30 to 45 minutes to complete this task. Here are the steps:
Replacement of a rear CV joint / axle shaft of a CFMOTO ZFORCE:
1- Lift the vehicle
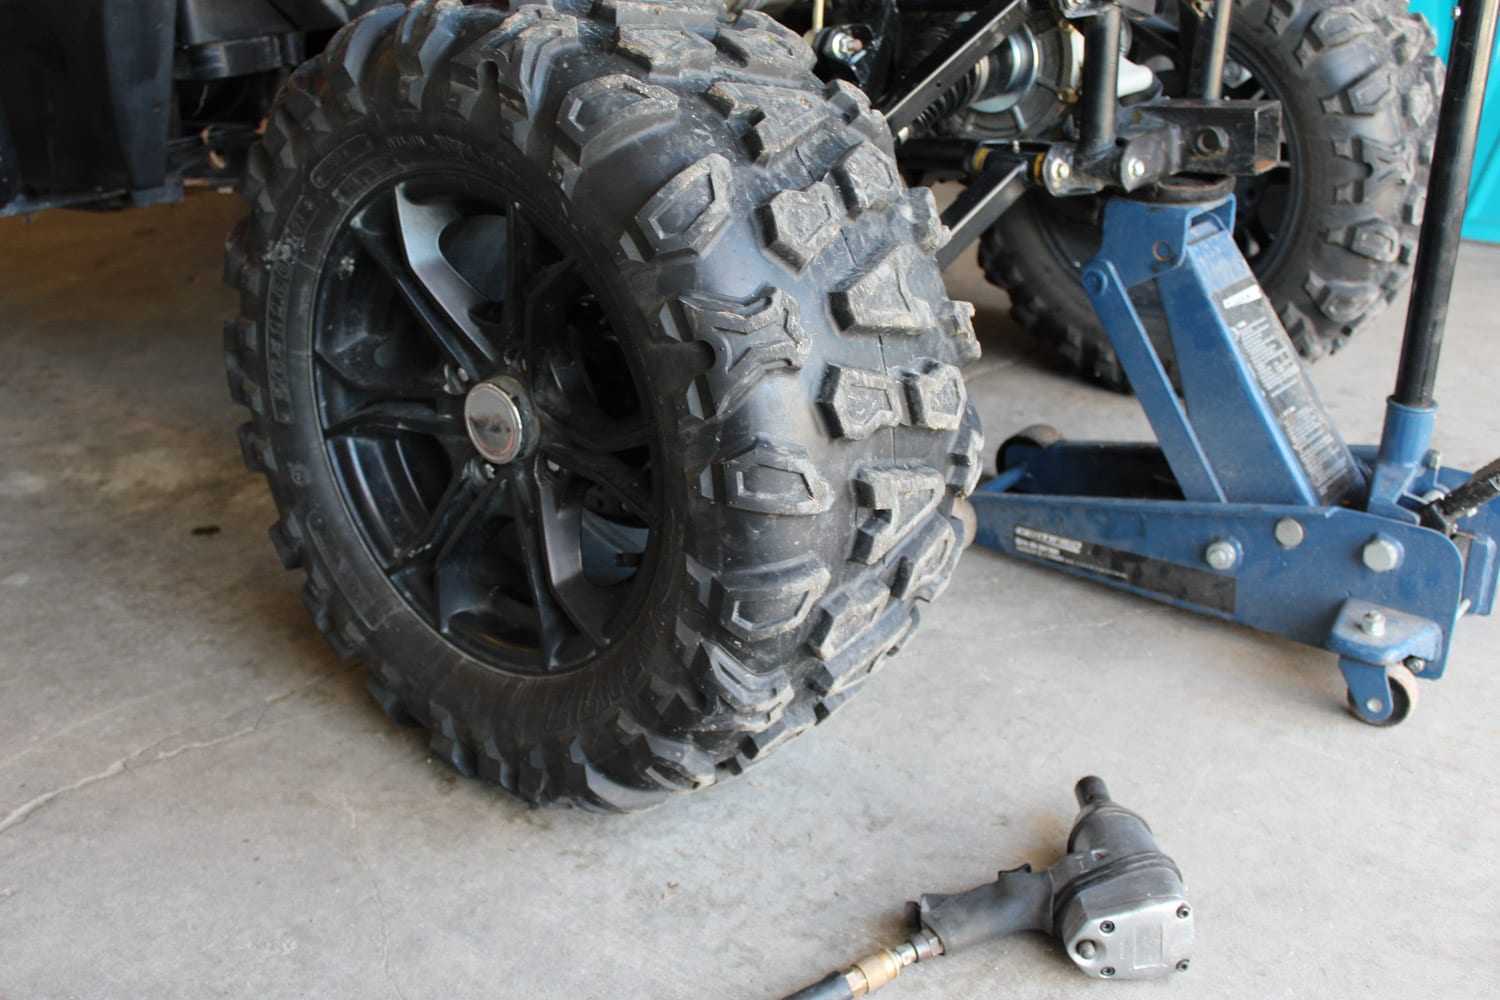
Secure your vehicle on a level surface and raise it with a hydraulic jack. Consult your vehicle owner’s manual to find the correct place to jack your machine, and be sure to place the jack under the frame.
Double-check that the vehicle is in P mode and that the parking brake is applied before lifting. Then you will need to remove the wheel.
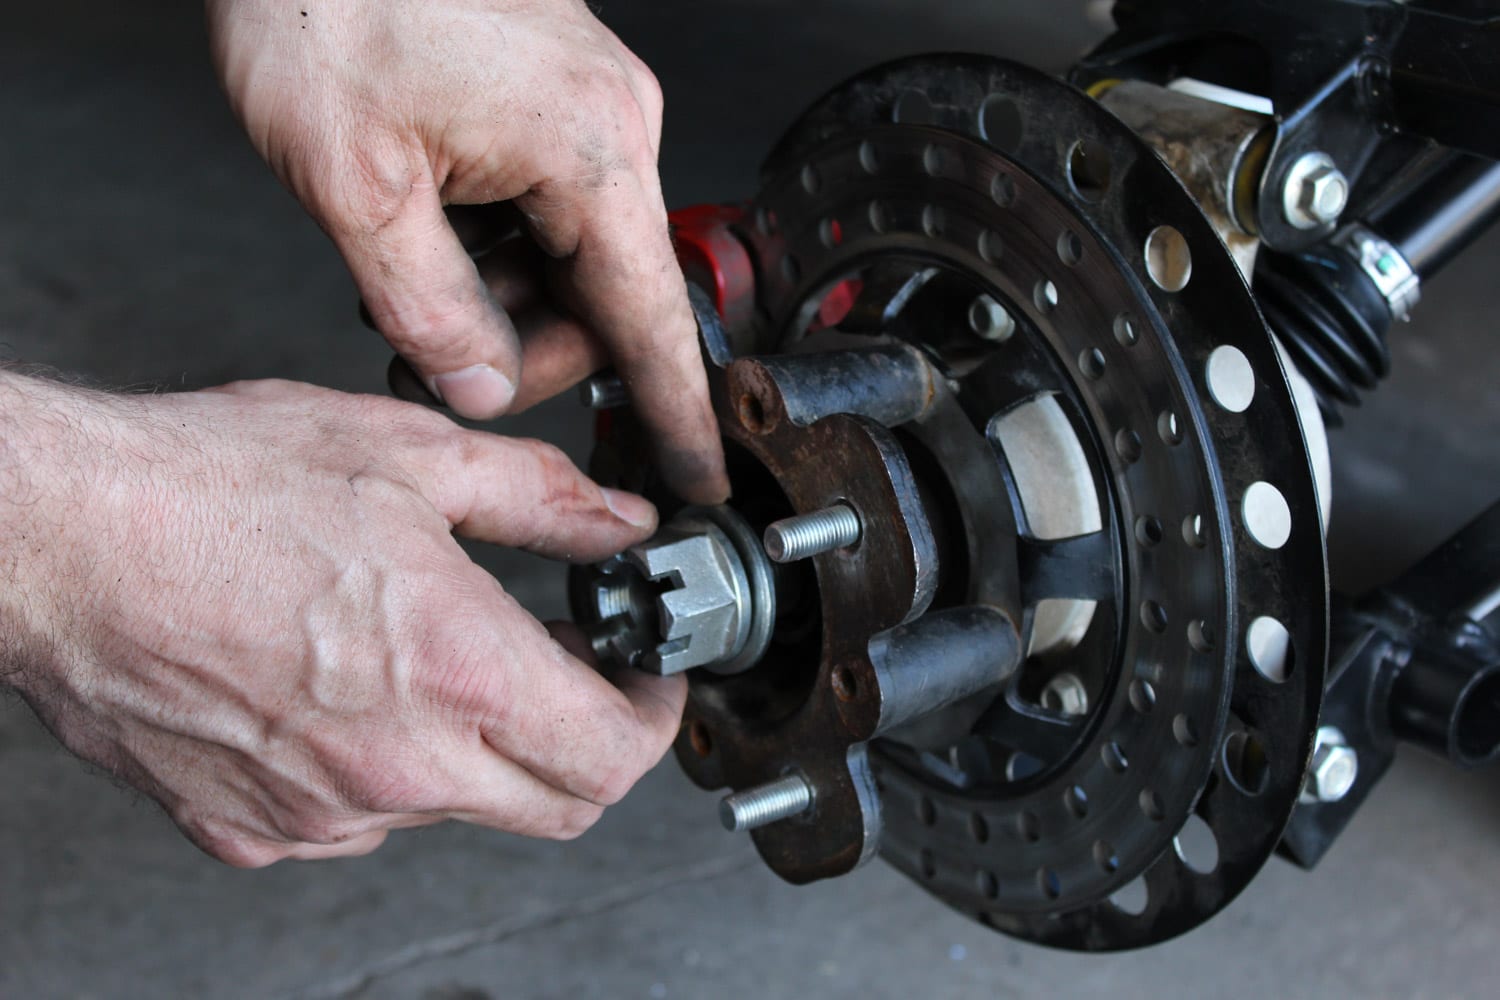
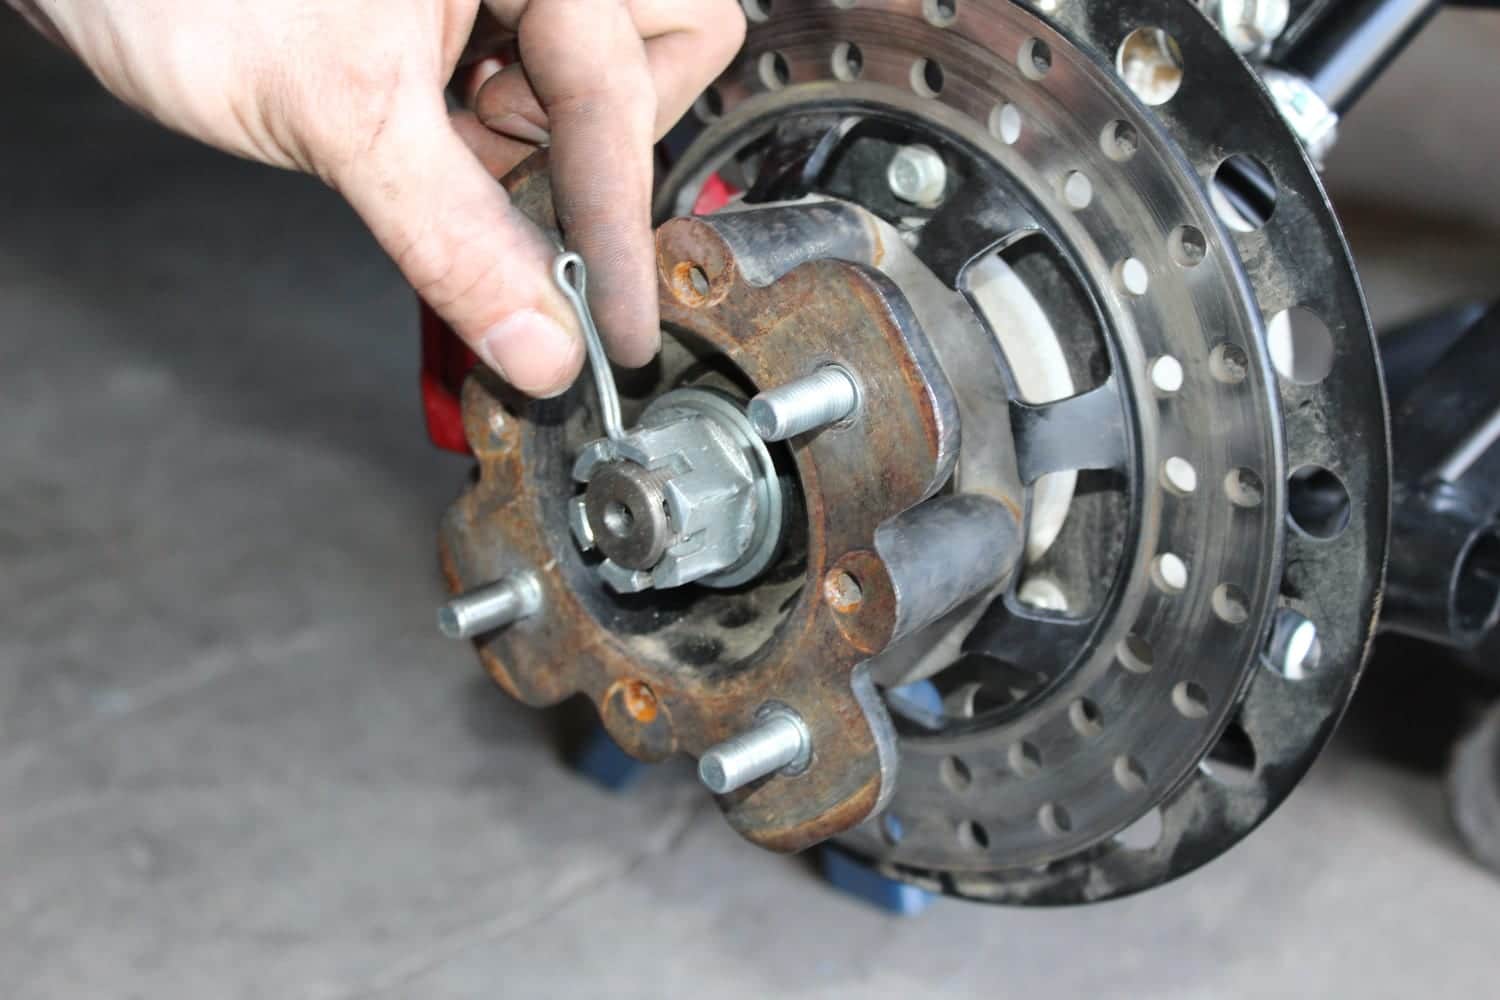
2- Remove the cotter pin from the axle nut
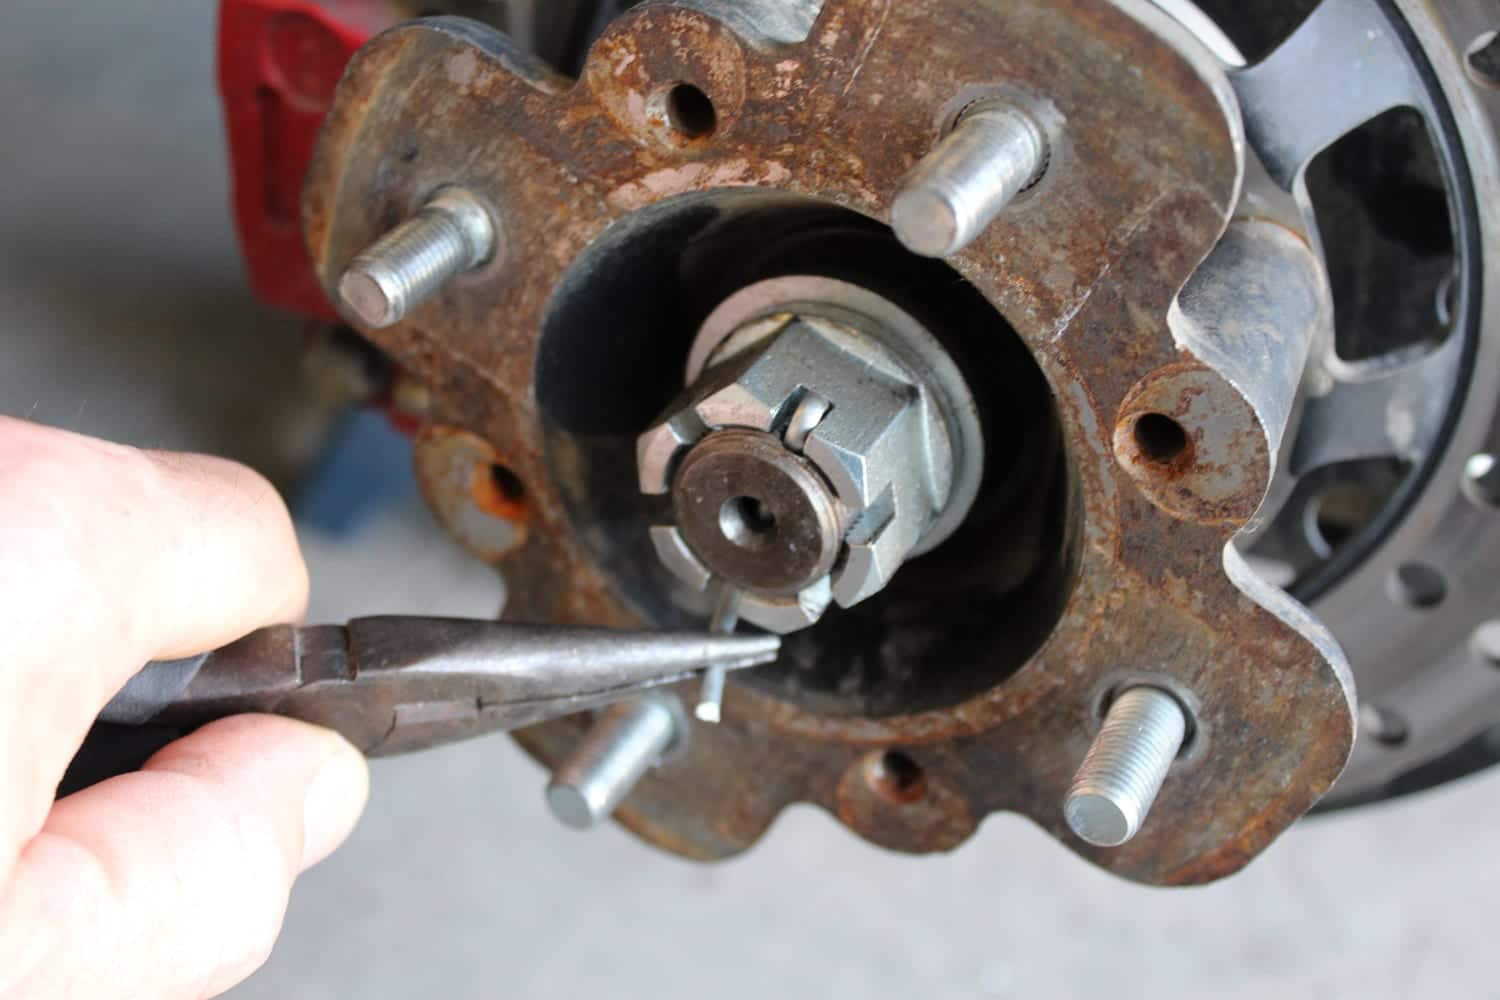
If your vehicle has a cotter pin securing the axle nut, you will need to remove it. The pin looks like a bobby pin with both ends folded back to hold it in place. You will need to use pliers to straighten the bent ends of the cotter pin before you can remove it. If the pin is stuck, try spraying it with a penetrating lubricant. The lubricant should also help with the removal of the axle nut.
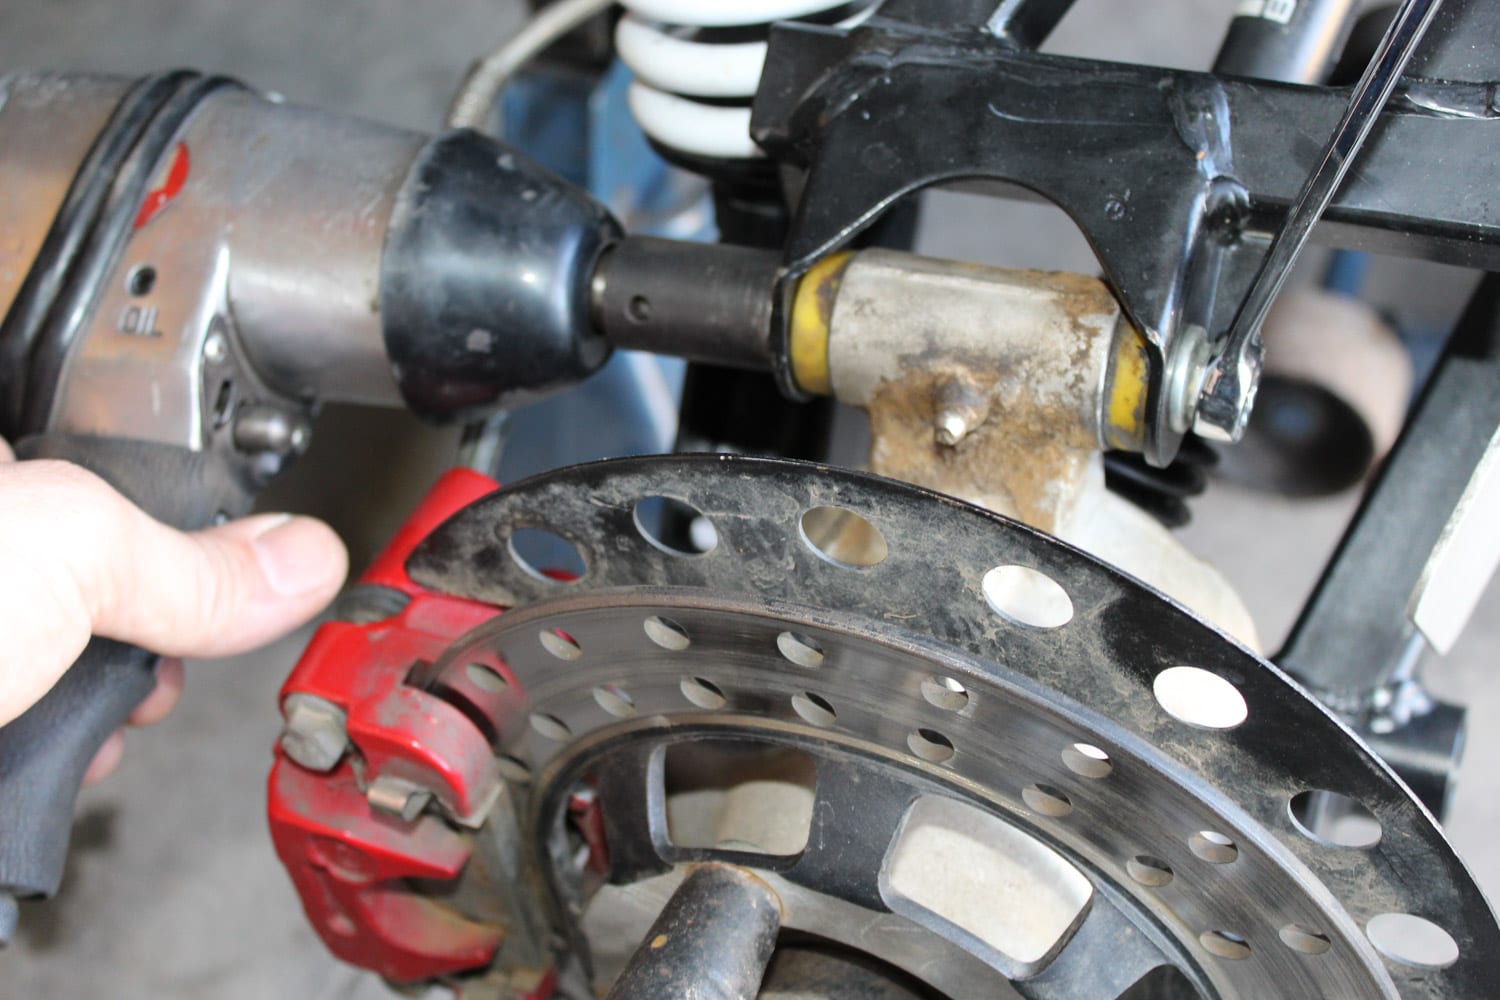
3- Remove the axle nut

Once the pin is released, you can remove the axle nut. It sometimes takes a lot of torque to remove it. For this reason, the use of an impact wrench is recommended to perform this operation. In the event that your CV joint is broken, seek the assistance of a partner to apply the brakes while you complete this step.
4- Release the stabilizer bar
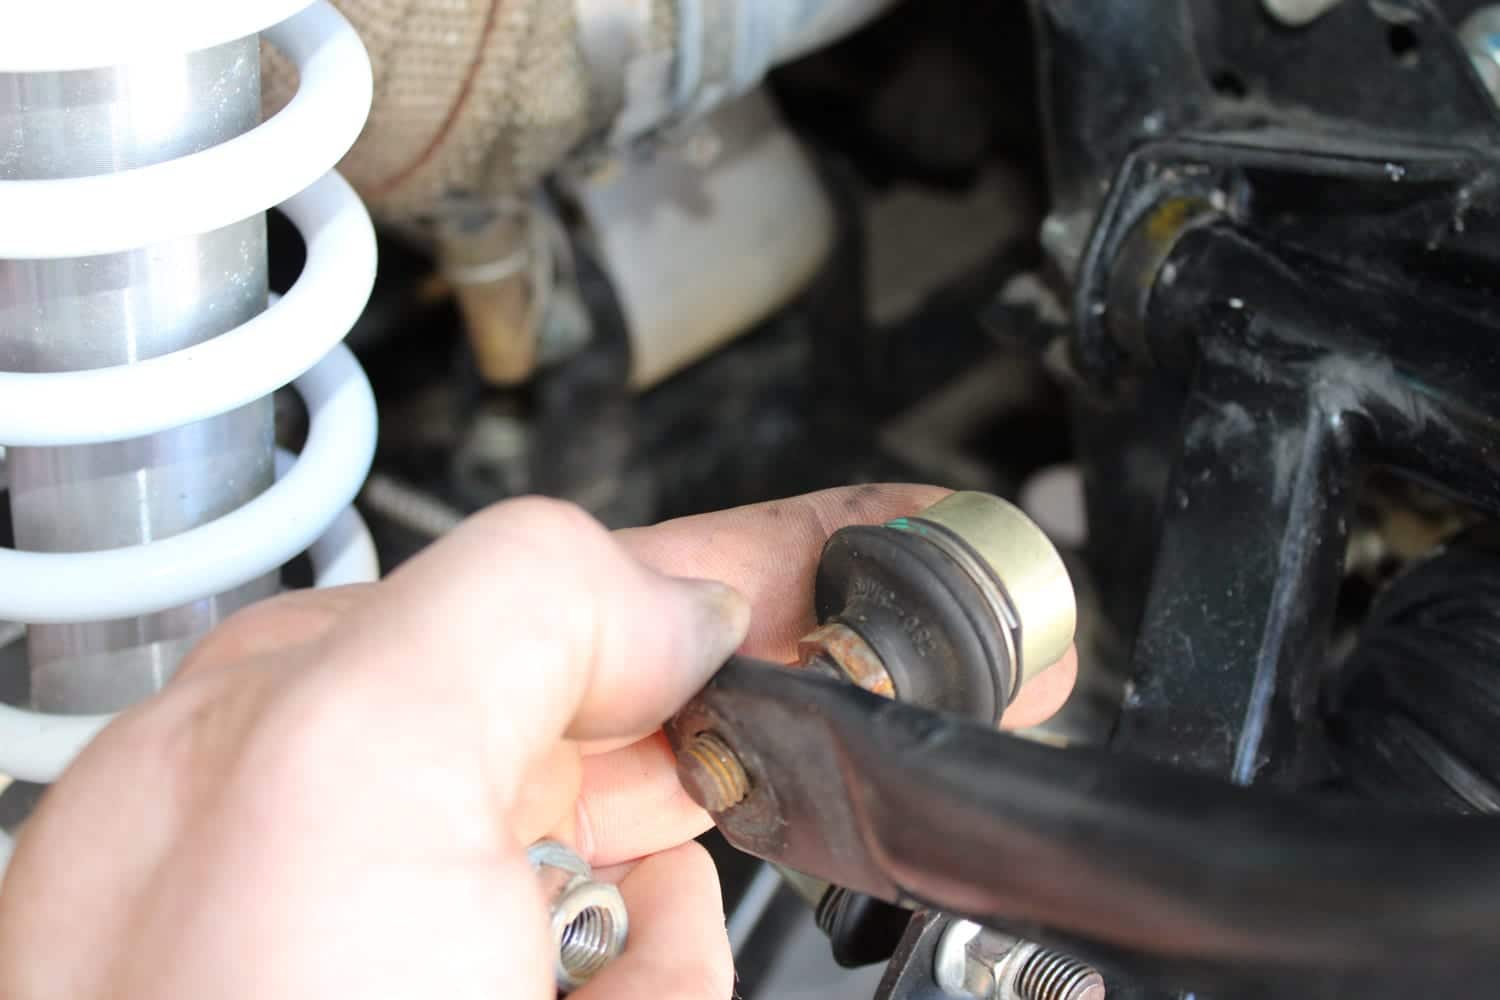
The two links of the stabilizer bar must be unbolted to allow the release of the upper A-arm in the following steps.
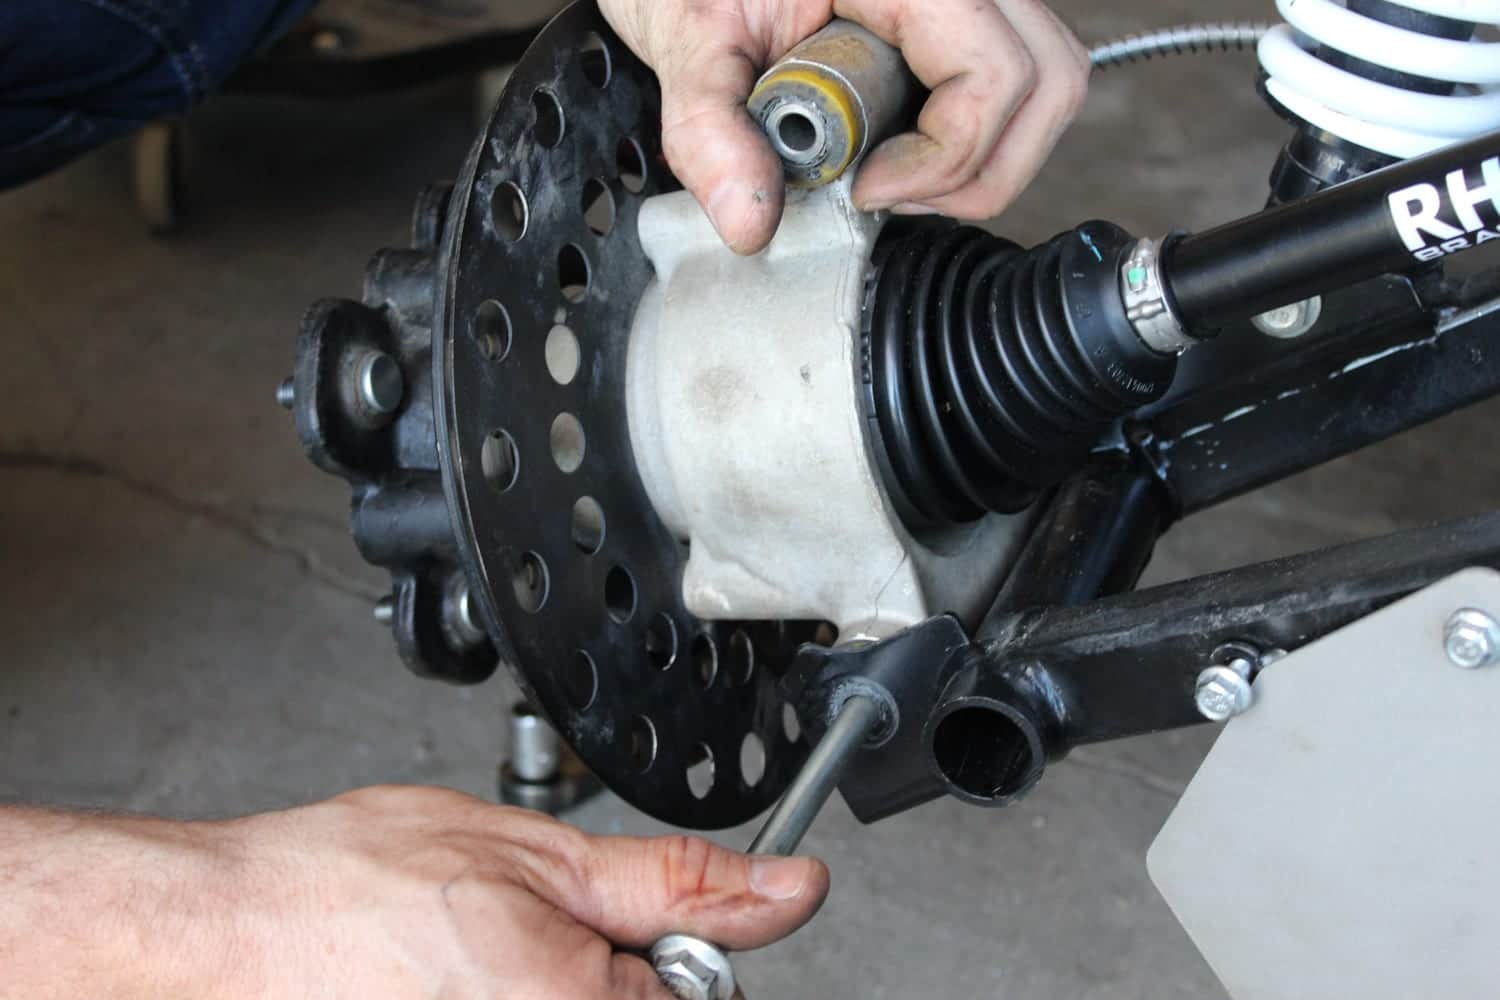
5- Remove the wheel shaft support
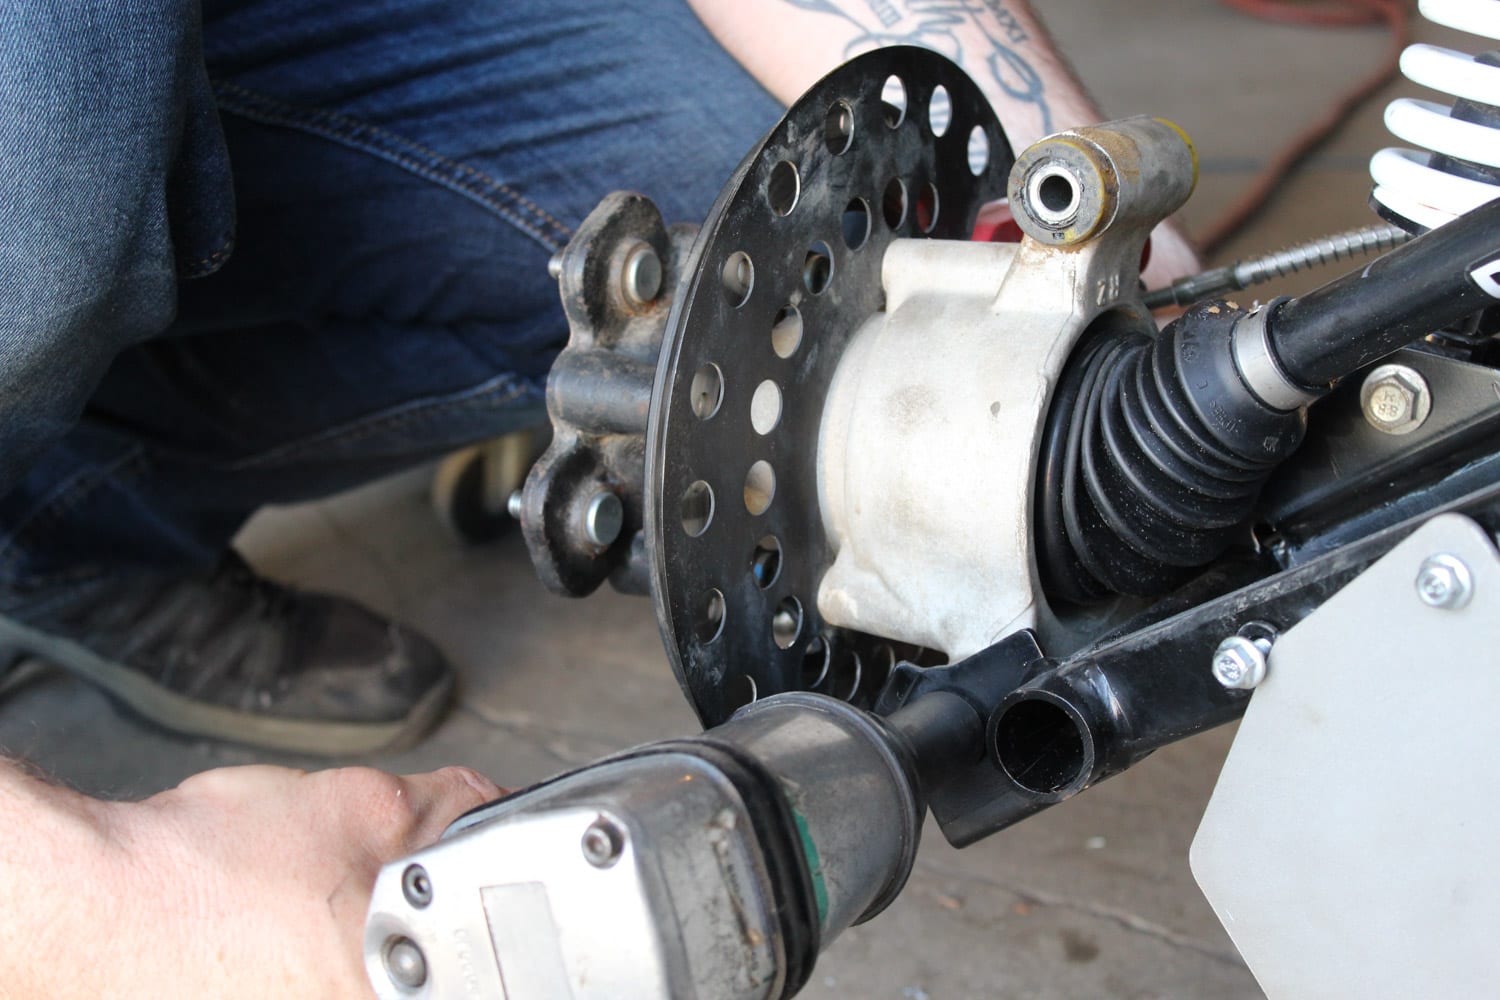
The upper and lower bolts must be removed at this stage, as it will be possible to extract the axle by removing the support, the wheel hub, and the brake rotor.
6- Release the upper A-arm
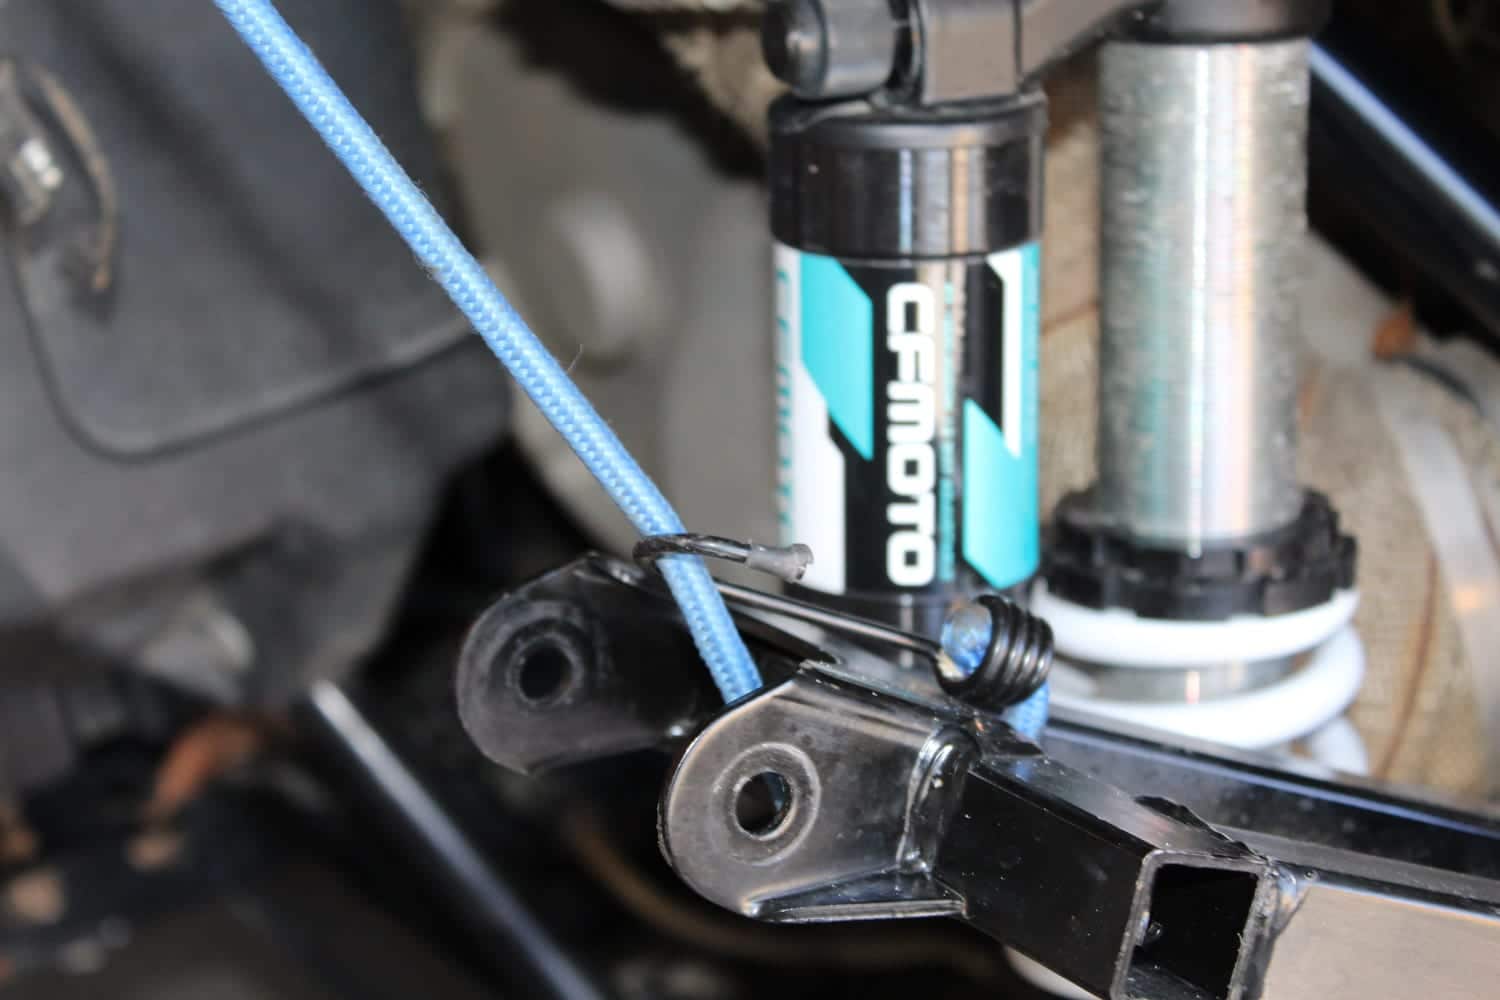
The use of a bungee cord is recommended; it will help secure and release the upper A-arm so that you can have the space needed to complete the next steps.
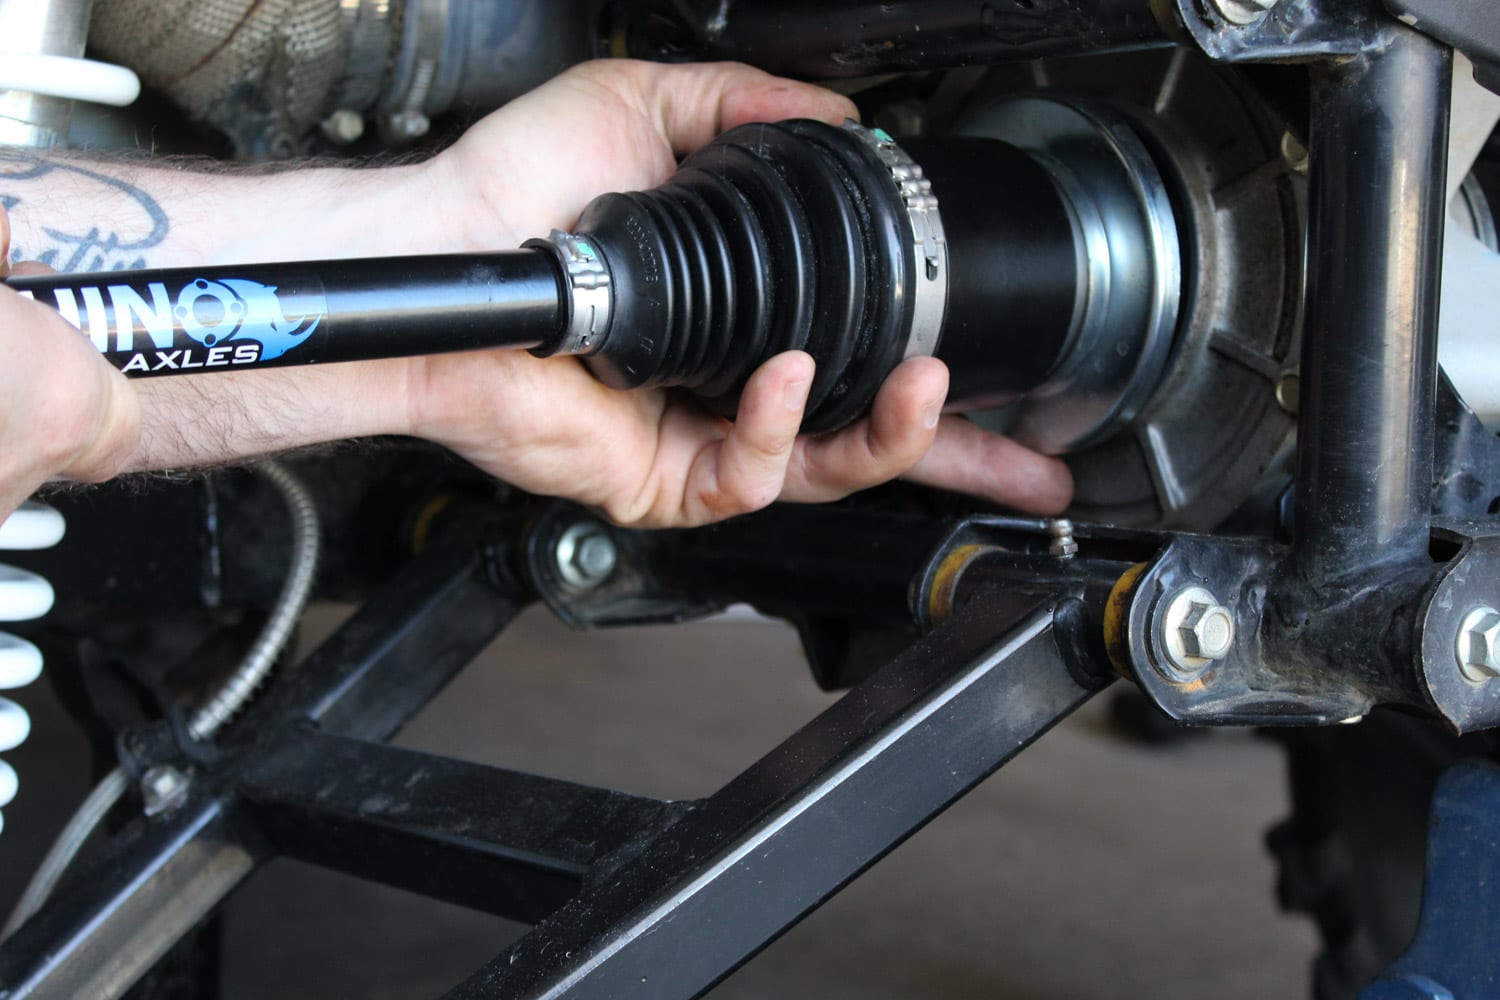
7- Remove the axle
First, remove the CV joint end from the shaft support and the wheel hub. While ensuring the axle is horizontal, push and twist it slightly towards the differential. You will feel slack, and then you can proceed with its removal. It is normal for transmission fluid to leak when you remove the axle. Have a suitable container handy.
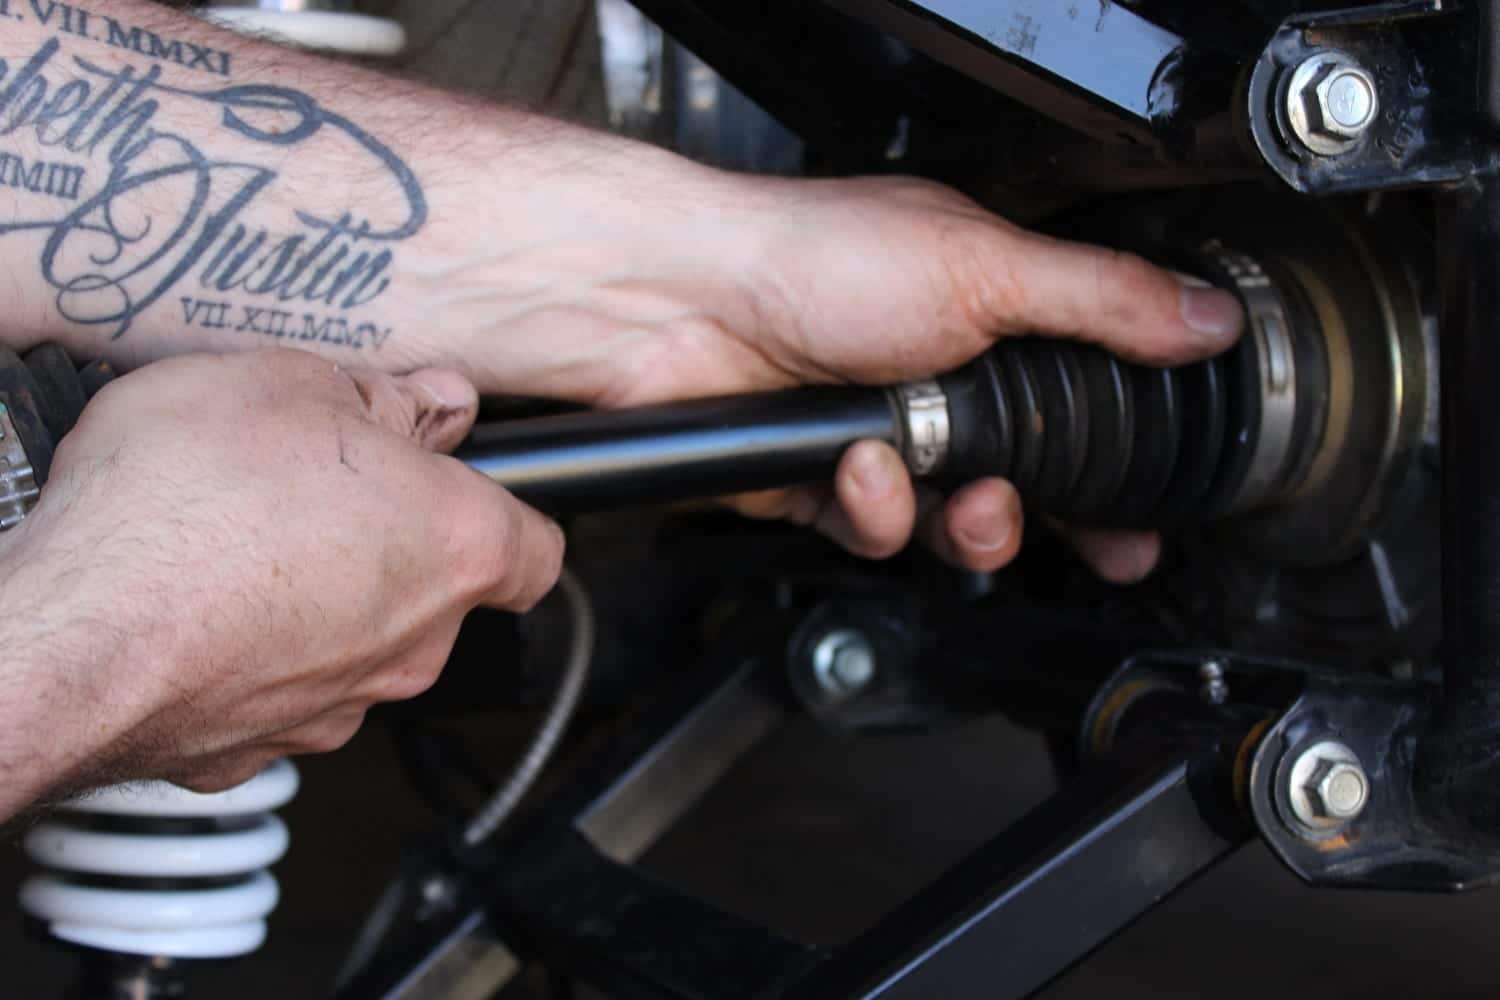
8-Insert the new axle into the differential
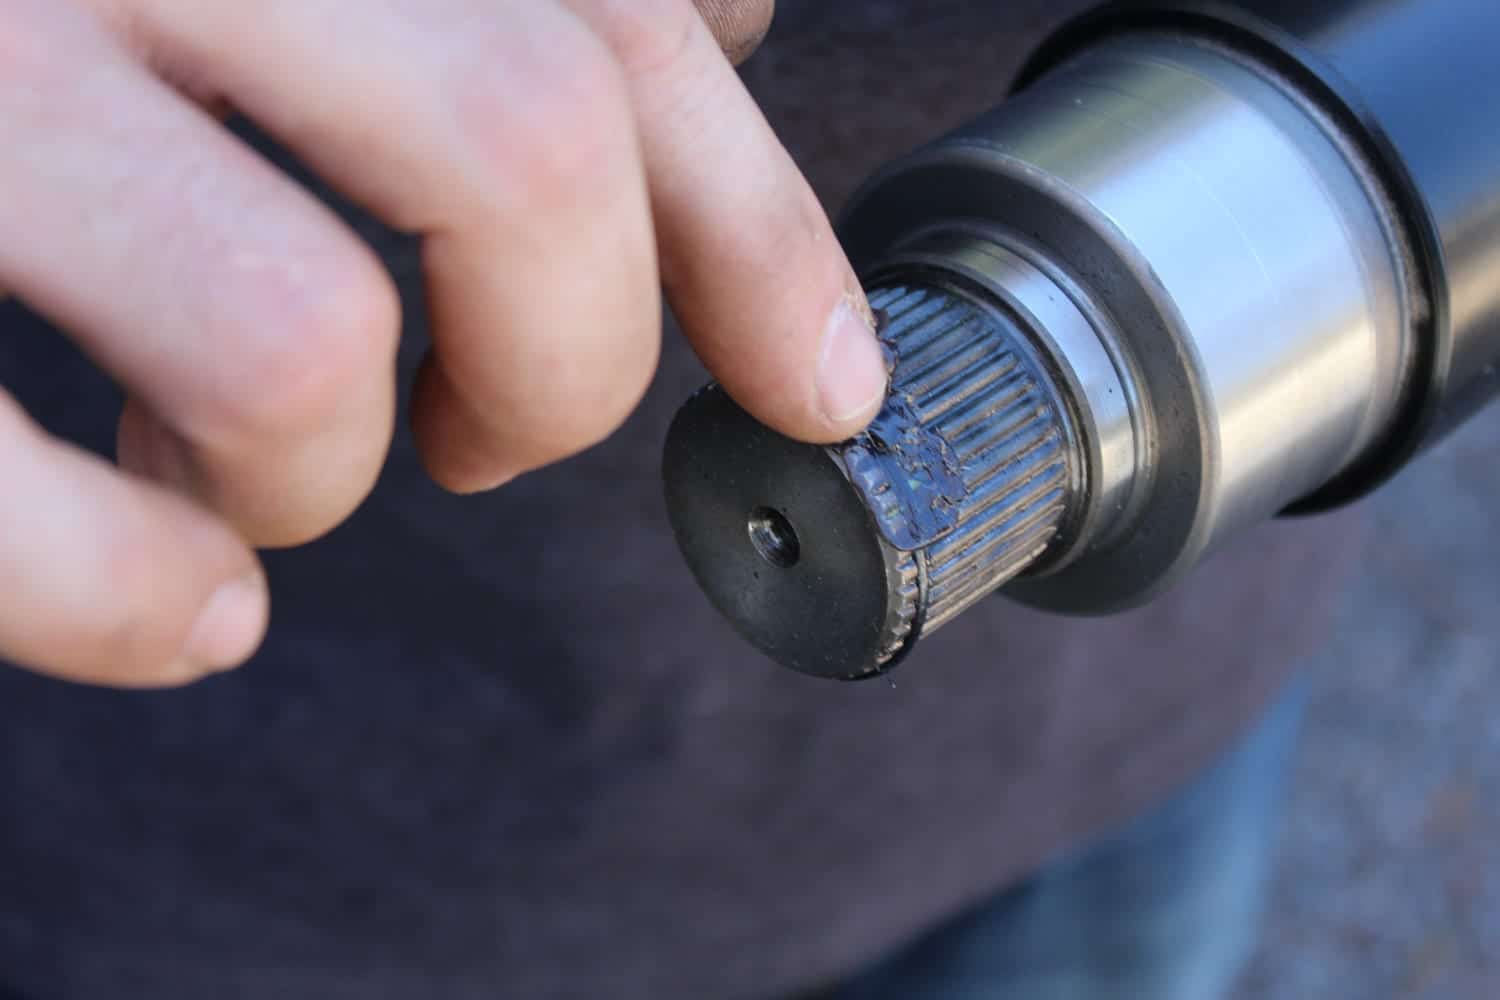
At the end of the axle you will find a small C-clip: it holds the axle in the differential. To facilitate insertion, we recommend the addition of grease that will keep the C-clip well in place. Doing the reverse of the removal step, now insert the new axle at the exact location in the differential. Its tip will slide all the way until the axle is flush with the housing.
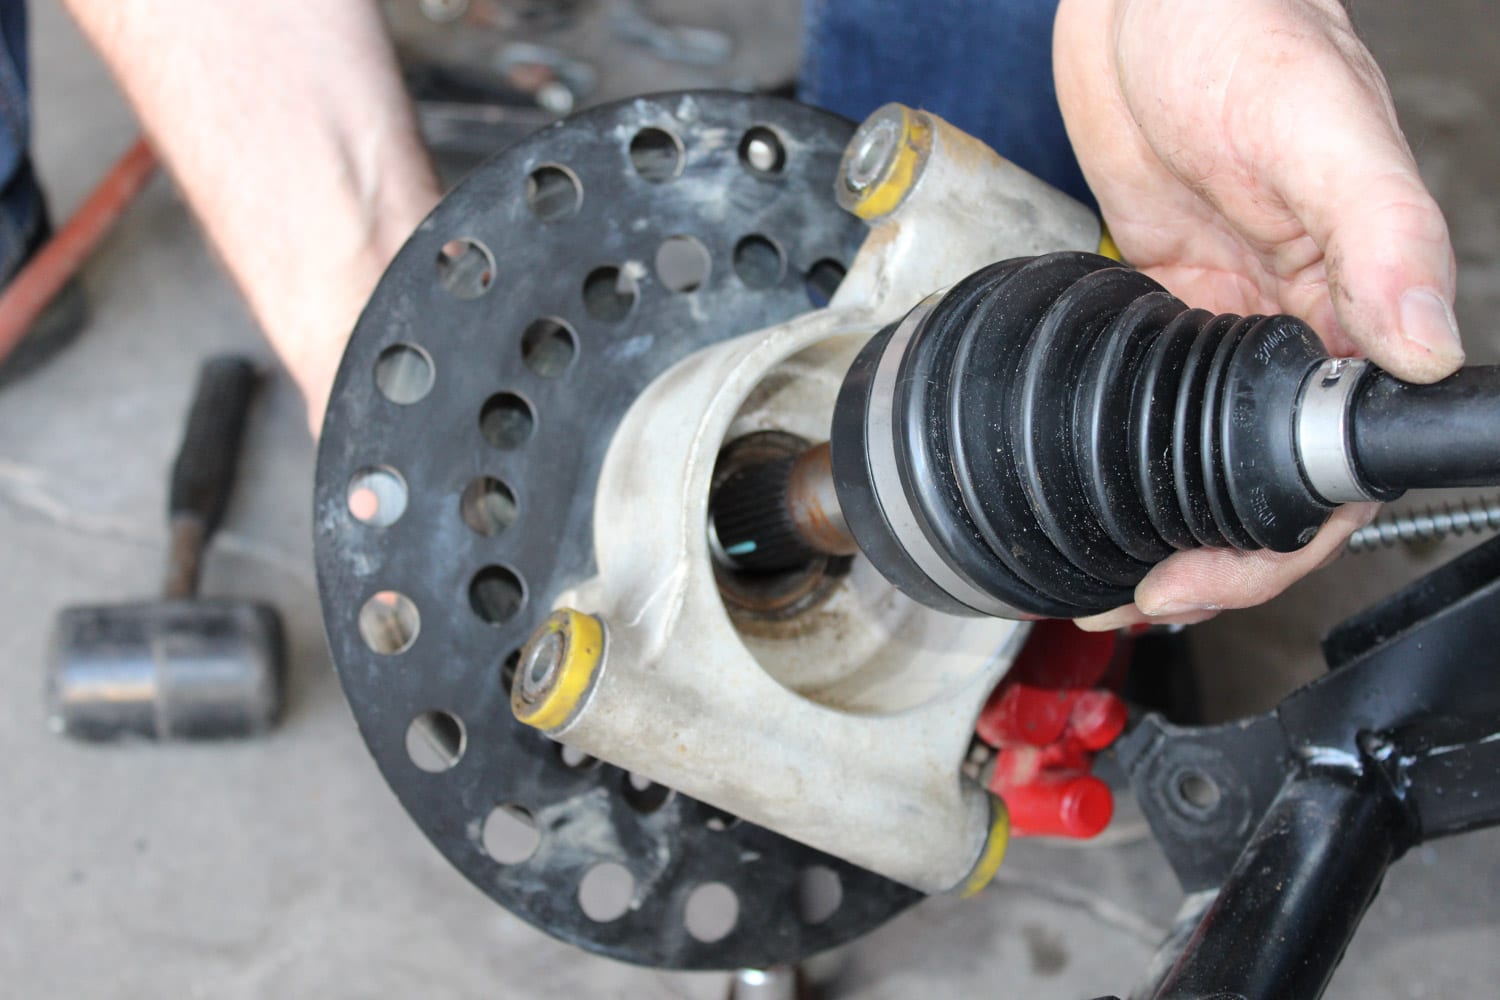
9- Reinsert the axle into the support and the wheel hub
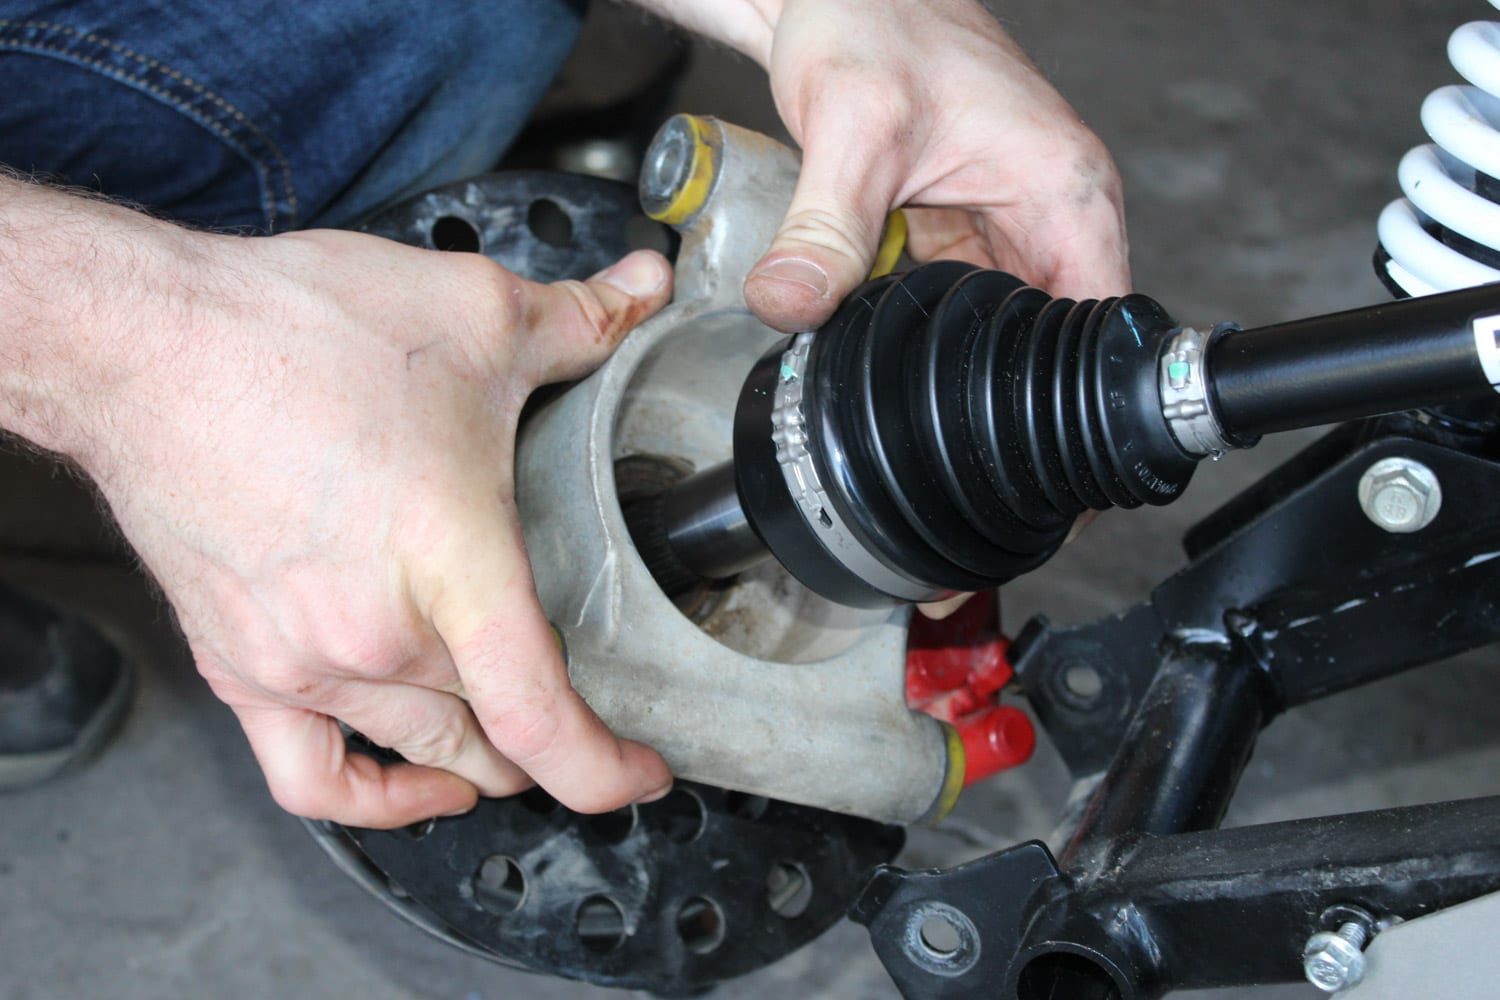
The new axle will need to be reinserted in the center of the hub assembly at the same location where you removed the old axle. Ensure the axle end is seated correctly on the surface of the differential and verify that the C-clip is engaged by testing its strength by lightly pulling the axle.
10- Assemble the upper and lower A-arms
Reinstall the A-arms to the wheel axle support using the bolts previously removed.
11- Install the axle nut
Reinsert the nut and use your hand for a few turns. Then use the impact wrench to tighten it.
12- Add the cotter pin
The old cotter pin can be fragile, so you should replace it with a new one rather than reuse the old one. Insert the pin, and using a flathead screwdriver, pry the end off. Complete the separation of the end of the pin using pliers.
13- Install the wheel
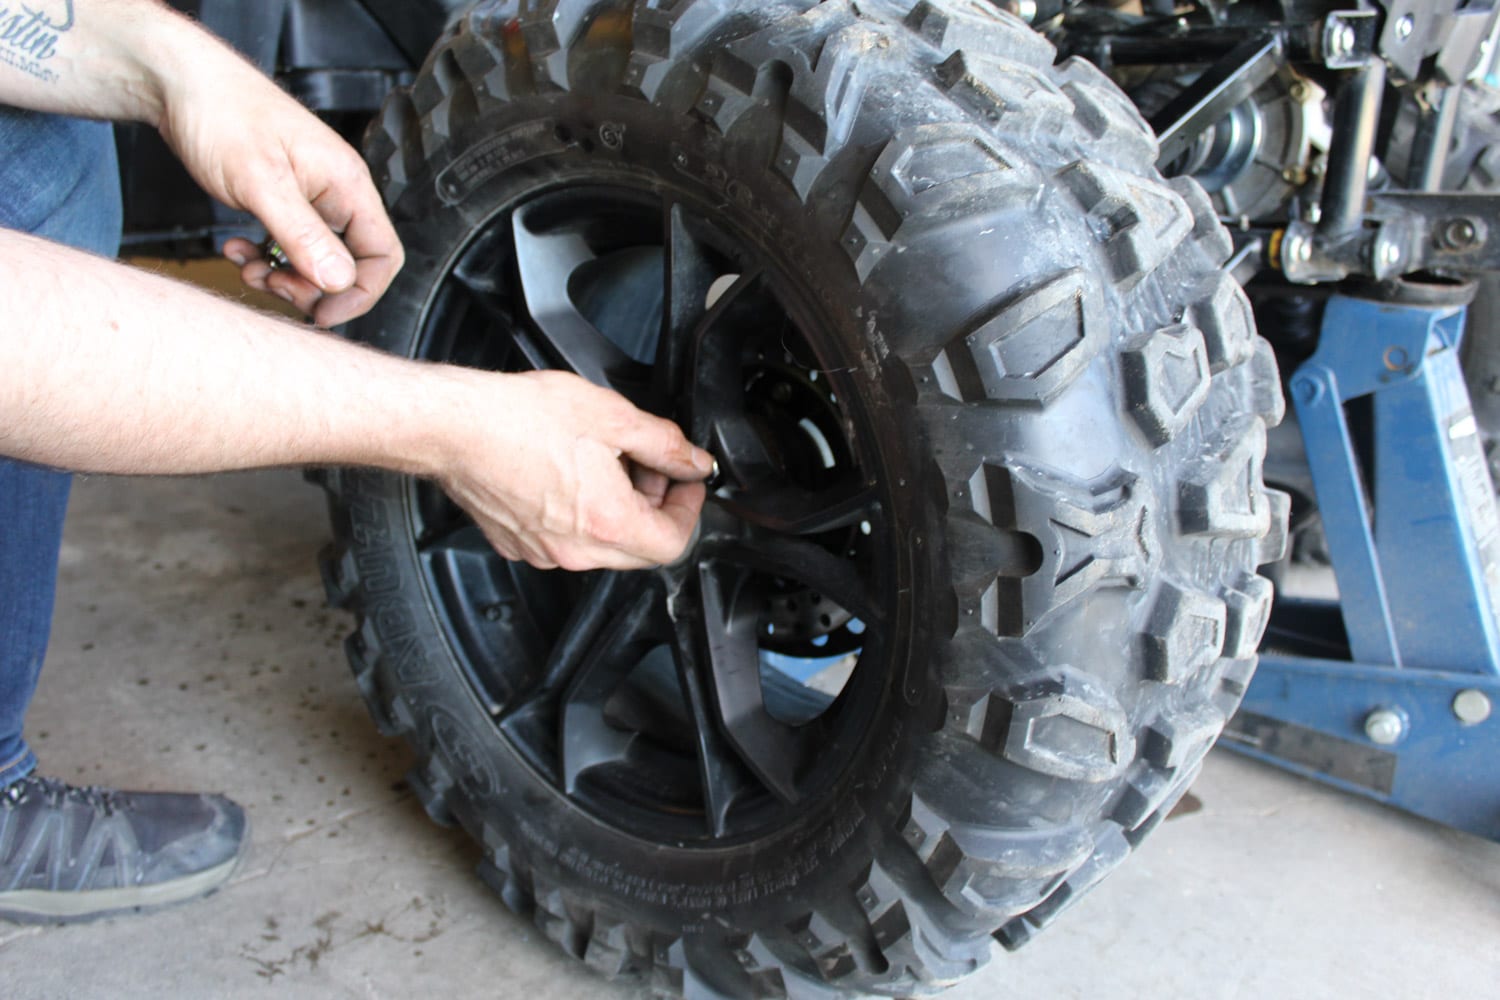
At this point, you can put the wheel back on the vehicle (the same way you would when changing a tire). Once the wheel is in place, you can lower the machine.
Note: These steps may differ from vehicle to vehicle. When replacing a CV joint of a front wheel, the difference is at the point of attachment of the wheel axle support: disassemble the ball joints and the tie-rod.
Rhino CV joints and axles are designed so you can tackle obstacles and muddy holes with confidence. They also have the advantage of having a one-year replacement warranty. So, get to your tools, and take advantage of heavy-duty CV joints that will match your most challenging rides!