One of the greatest aspects of UTV off-roading is the ability to explore the remote wilderness. The sensation of riding the path less travelled and soaking in the diverse picturesque decors that are encountered during the journey is hard to beat in my humble opinion. However, leaving the civilization comes at a cost and the price of the ability to easily communicate with others.
During your excursions, have you ever stopped and wondered: what happens if I break down or get lost? What happens if I get injured? How can I reach out for help or contact a family member since there is no cellular coverage? These are all valid questions and concerns and the answer comes in the form of a device known as the inReach Explorer.
What is the Delorme inReach Explorer? I regard the inReach Explorer as an essential piece of hardware for all UTV off-roaders looking for piece of mind. The unit is the first two-way satellite communicator with built-in navigation. Let’s take a closer look at the Delorme inReach Explorer.
What’s in the box?
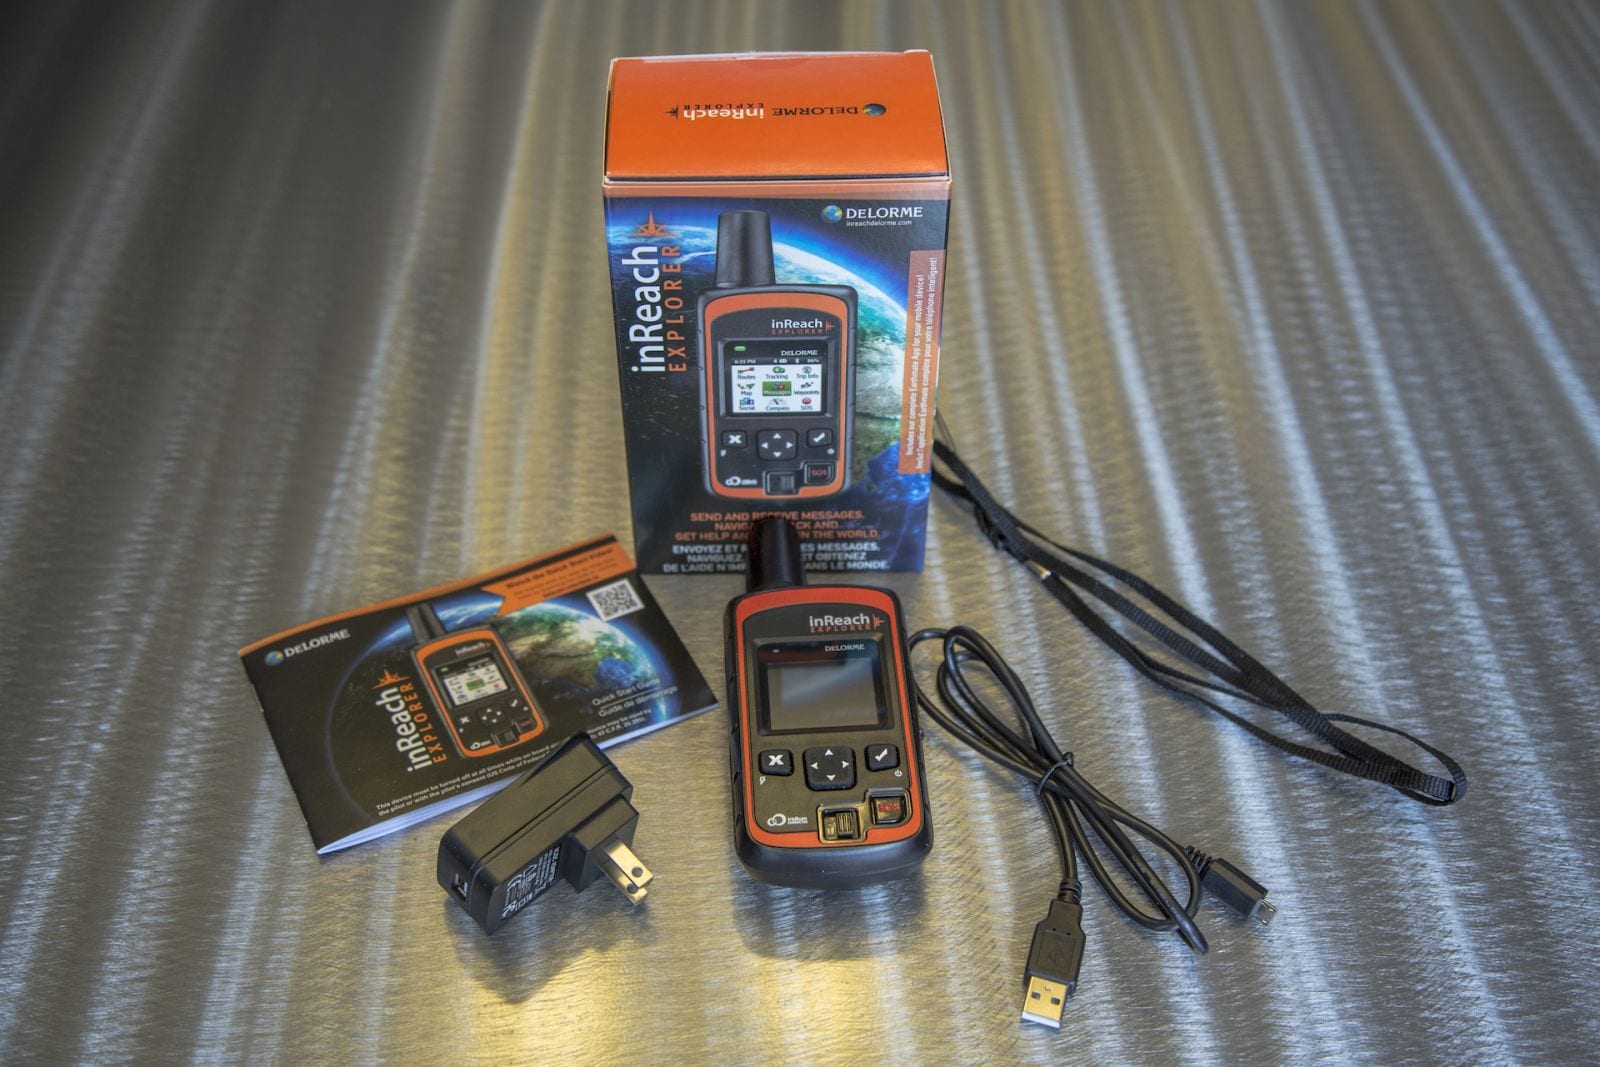
- inReach Explorer device
- Lanyard
- USB cable
- AC adaptor
- Pack clip
- Quick Start Guide
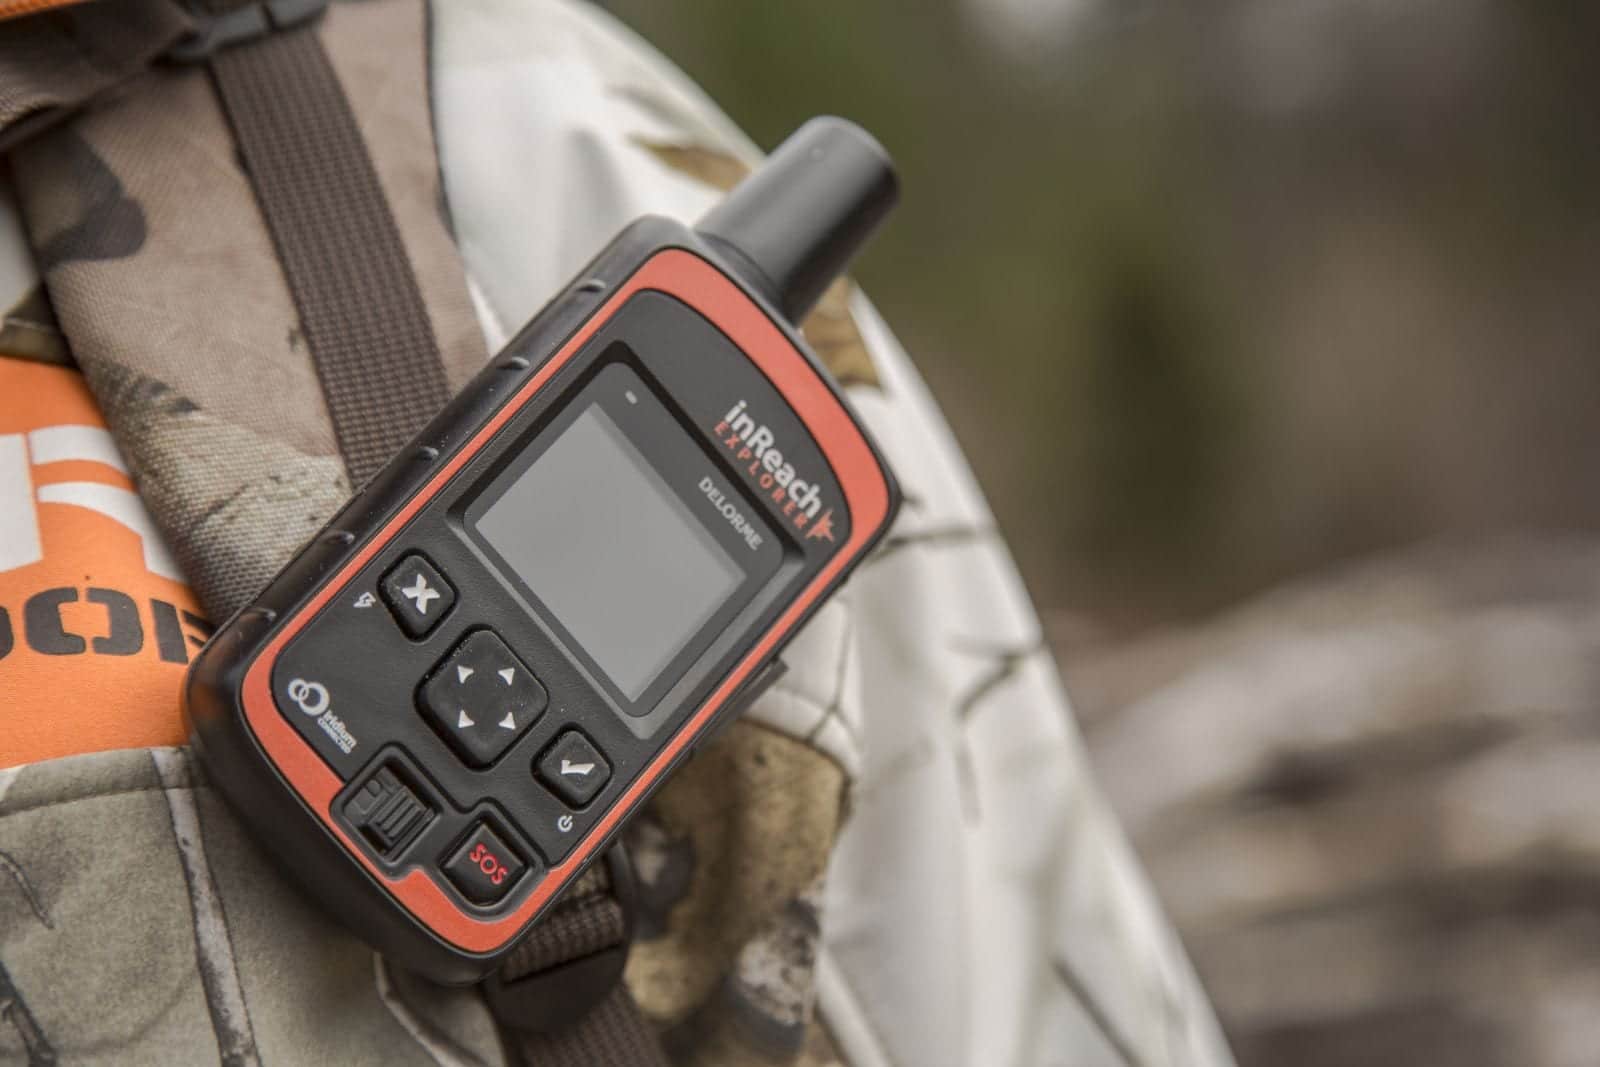
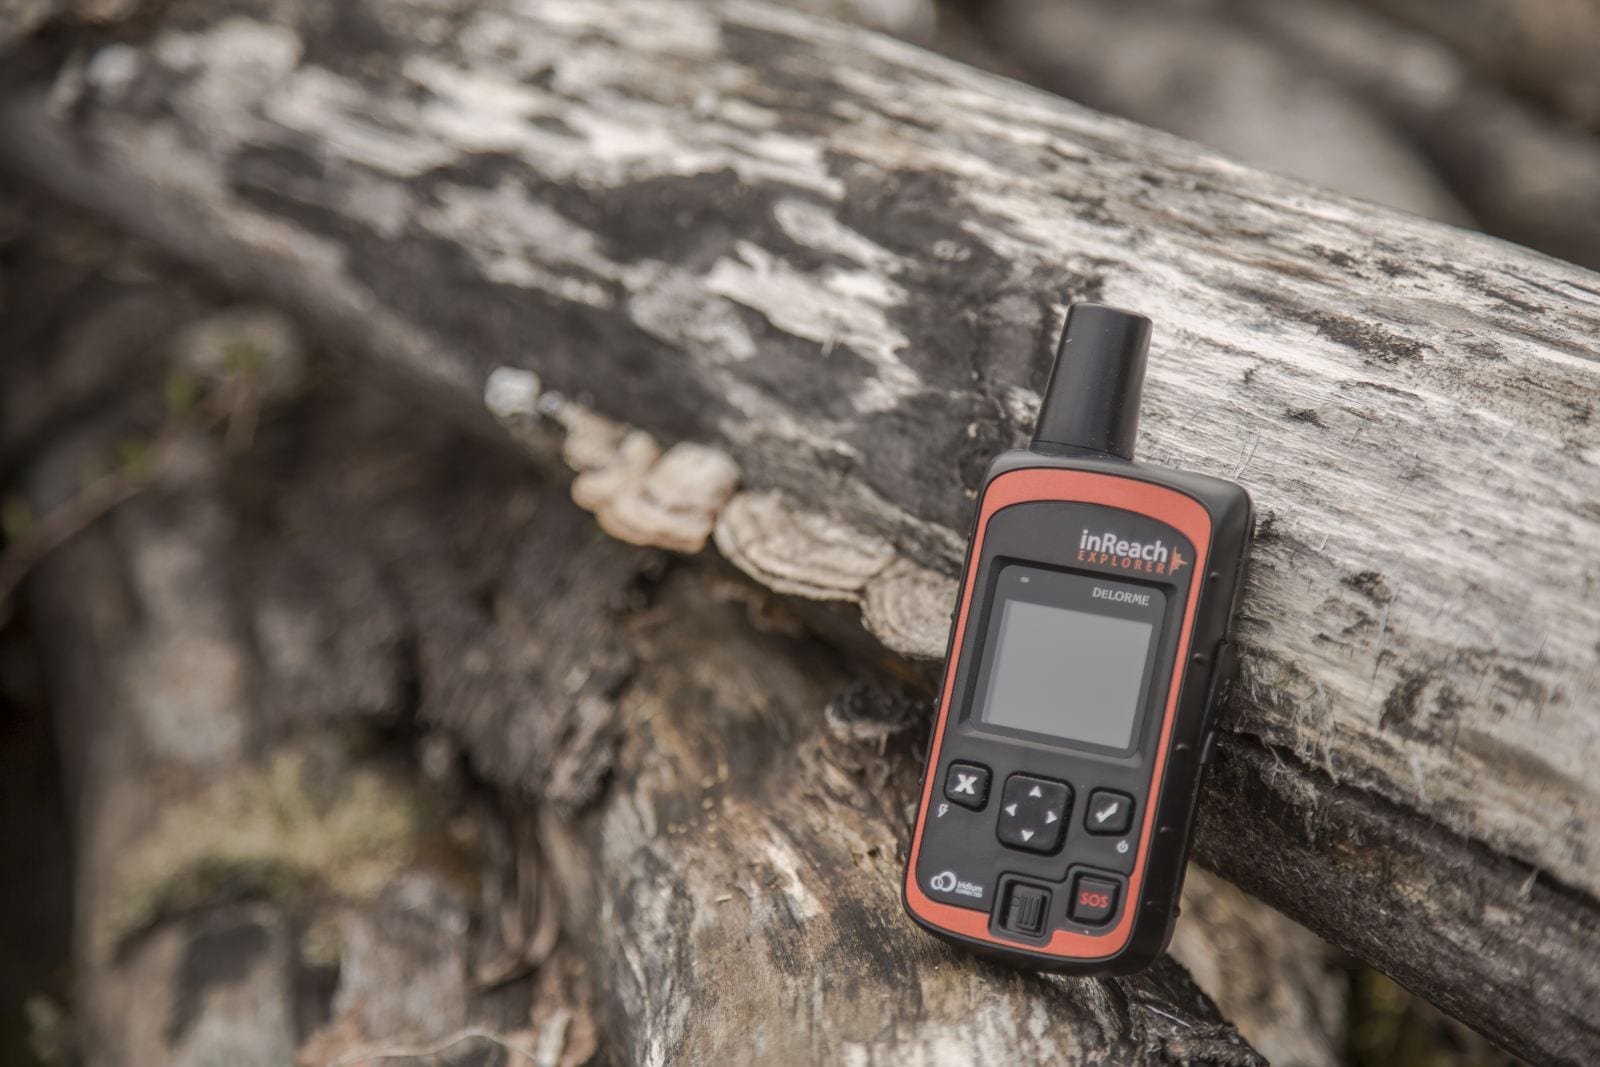
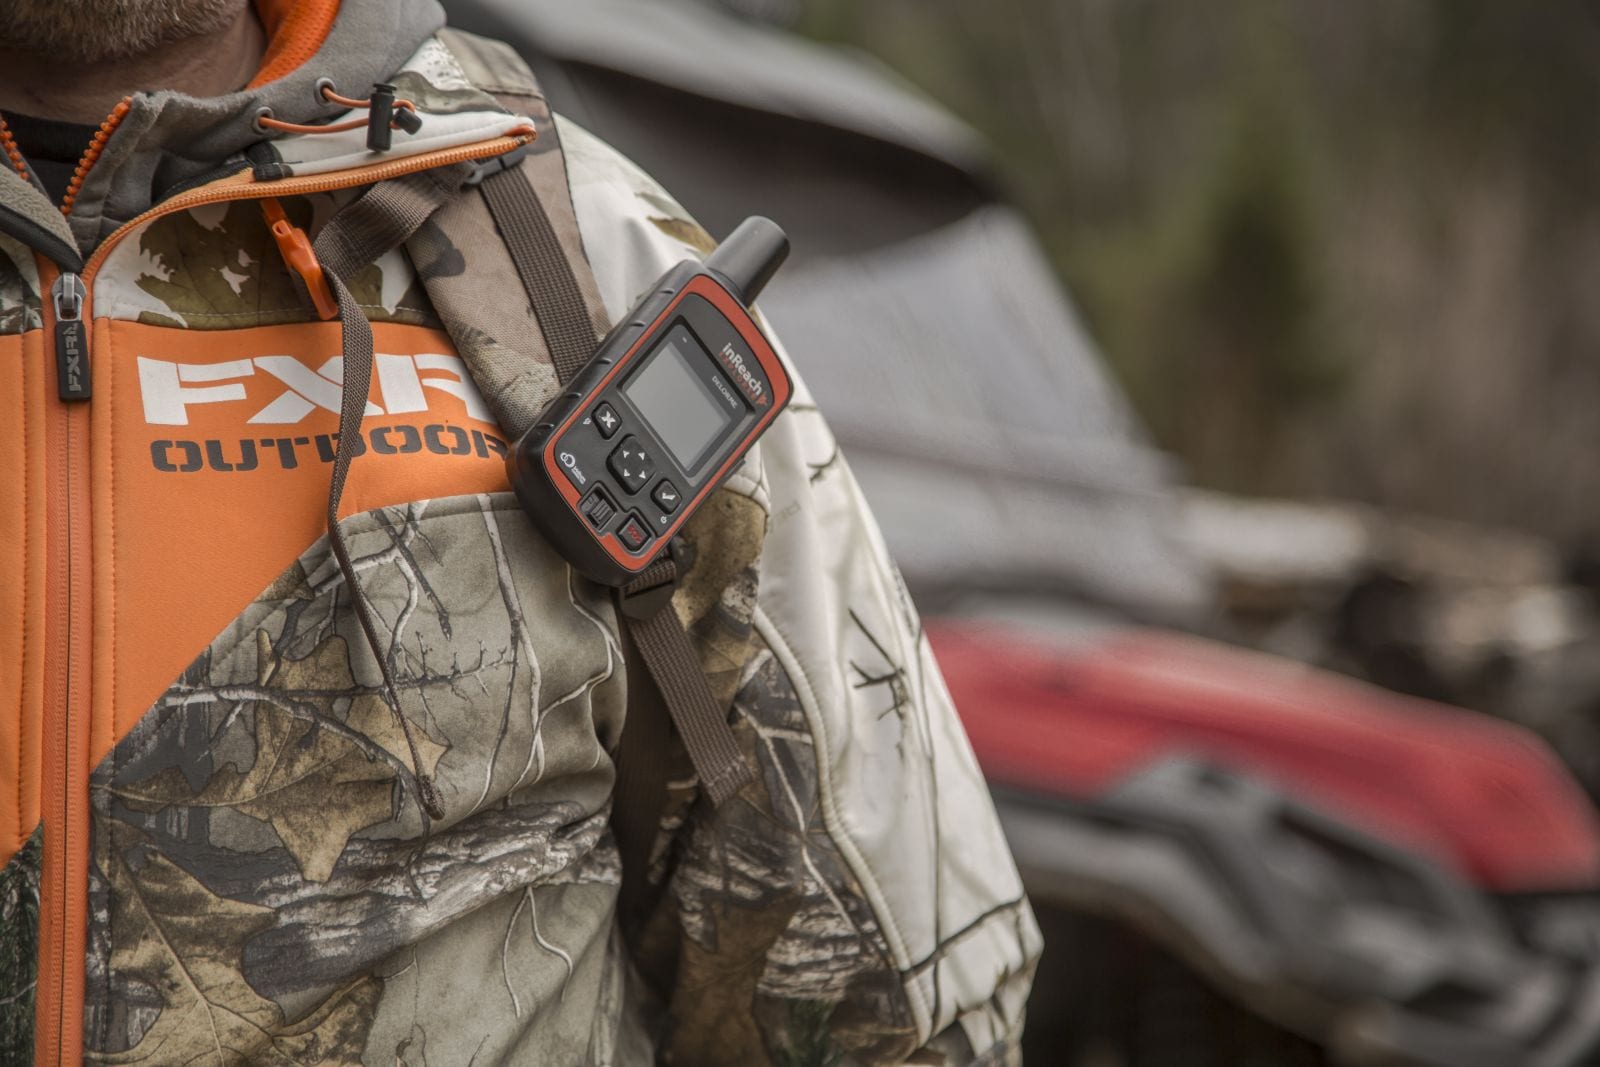
When you first handle the inReach Explorer, you notice that the unit has a user-friendly simplistic design and the unit feels solid and well constructed. Aside from its rugged design the unit is also waterproof, so in summation it’s ready and capable to battle any terrain. It should also be noted that the unit operates on Iridium, the world’s most reliable satellite network with 100% global coverage.
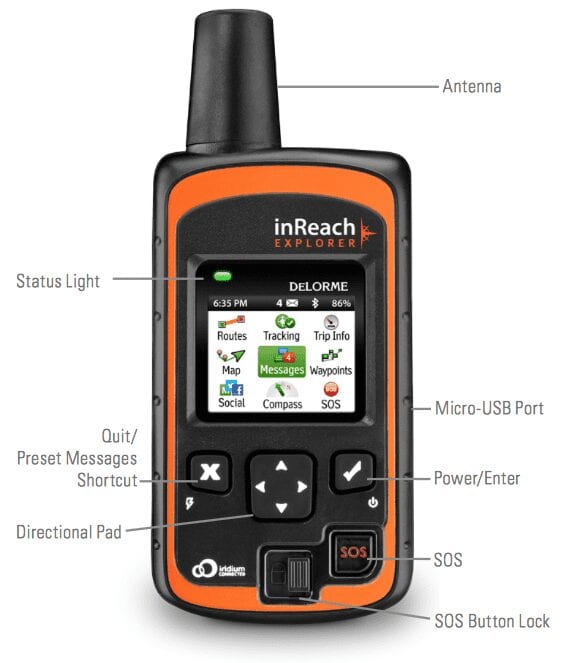
The front of the unit reveals the antenna, status light, display screen, quit/preset messages/shortcut button, power/enter button, directional pad and the SOS and SOS button lock. The right side of the unit is where you will find the Micro-USB port and the rear of the unit houses the pack clip.
Unit Activation and Setup
Prior to using your inReach Explorer you will have to perform a basic setup and activation process. I recommend fully charging your unit, as this process took me approximately 30 minutes to complete. I also recommend you reviewing the subscription plans prior to commencing the activation process. There are 4 plans to choose from and you will need to select one during the activation of your unit.
To activate the unit, visit the inReach Canada website at: www.inreachcanada.com. The process is straightforward and well documented; once you have entered the requested information you will be instructed to take the unit outside to complete the activation.
Once my unit was activated, I took the time to pair the unit to my smartphone. I highly recommend that your pair your devices as this will enable you to use the Earthmate App. The last step in your setup process should be for you to verify if there are any firmware updates and apply them if available. The manufacture actually recommends that you check for firmware updates before every outing.
The instructions for pairing and firmware updates can also be found on the inReach website in the support section.
This is also an opportune time for you to review the options in the explore web application. Via the various options you can manage your account information, contacts and inbox. This is also where you setup your social media links and also your preset and quick text messages.
Communication Features
The inReach Explorer offers many great communication features that I will outline here, however one feature in particular is what sparked my interest and drew me to this unit. In an emergency situation you need to know that someone received your message. The best way of knowing is by an acknowledgement to your message and this is why the inReach Explorer stands out above the competition.
With other rescue and satellite communication devices, you press a button to send a distress message and remaining hopeful that someone received it. Since there is no two-way communication on such devices there is no acknowledgement of successful reception. On the other hand, when you press the SOS button of the inReach Explorer you are not left wondering, as someone from the GEOS monitoring center acknowledges and responds to your message.
Besides the interactive SOS, the unit also offers two-way satellite messaging in the form of text messages. I consider this to be another exceptional feature, which easily allows you to keep in touch with family or friends. The unit also allows you to link your Facebook and Twitter accounts, this way you can also share your adventures on your social feeds.
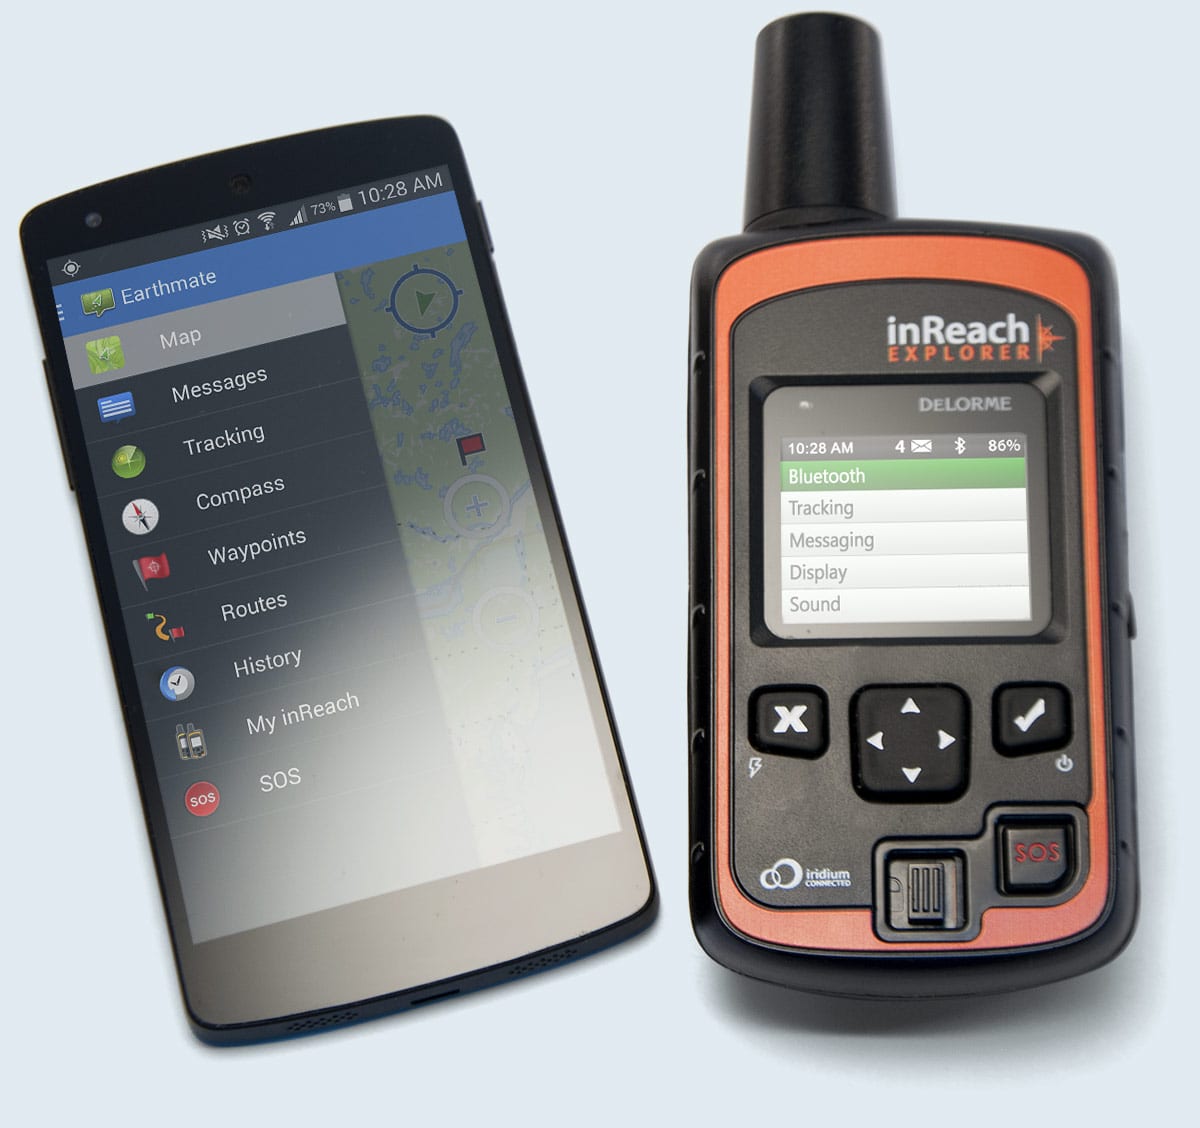
Sending a message or posting a social update is a simple process. You select the appropriate icon (messaging or social) and type your message using the directional pad or by selecting a message which you predefined earlier. Long messages can be cumbersome to write using the directional pad. This is where the Earthmate APP comes in handy.
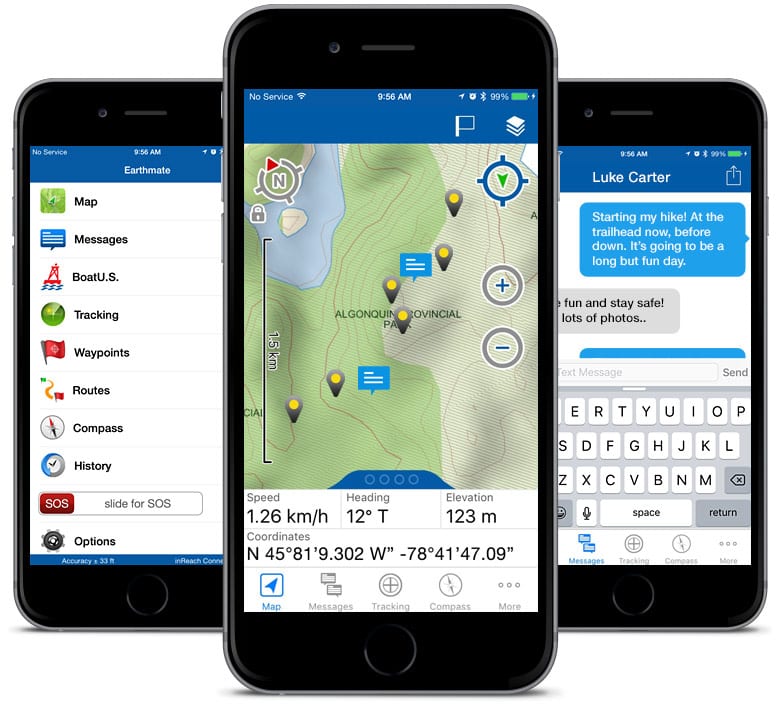
During the setup process, I recommended you pair your smartphone with your unit: here is why. Since your devices are now paired you can download and use the Earthmate APP. The APP is available for IOS and Android devices and allows you to: compose and send messages easily using your smartphone’s keyboard and access your smartphone’s address book for faster messaging.
Navigation Features:
Aside from its incomparable communication abilities, the inReach Explorer can also do more than hold its own as a navigation device. The unit allows you to display and follow a route, view tracks and geo-located messages as well as creating waypoints. The unit also features a digital compass, barometric altimeter, odometer and accelerometer. Aside from this, you can also view key trip stats including trip time, distance and max/average speed.
The inReach website (explore web application) does have route planning capabilities. You can define your own routes and waypoints, save them and sync them with your inReach Explorer for use in the field. It is important to note that the unit will only show your predefined route on a white screen with no topographic information. To display your planned route as a topographic map you will have to utilize the Earthmate APP via your smartphone.
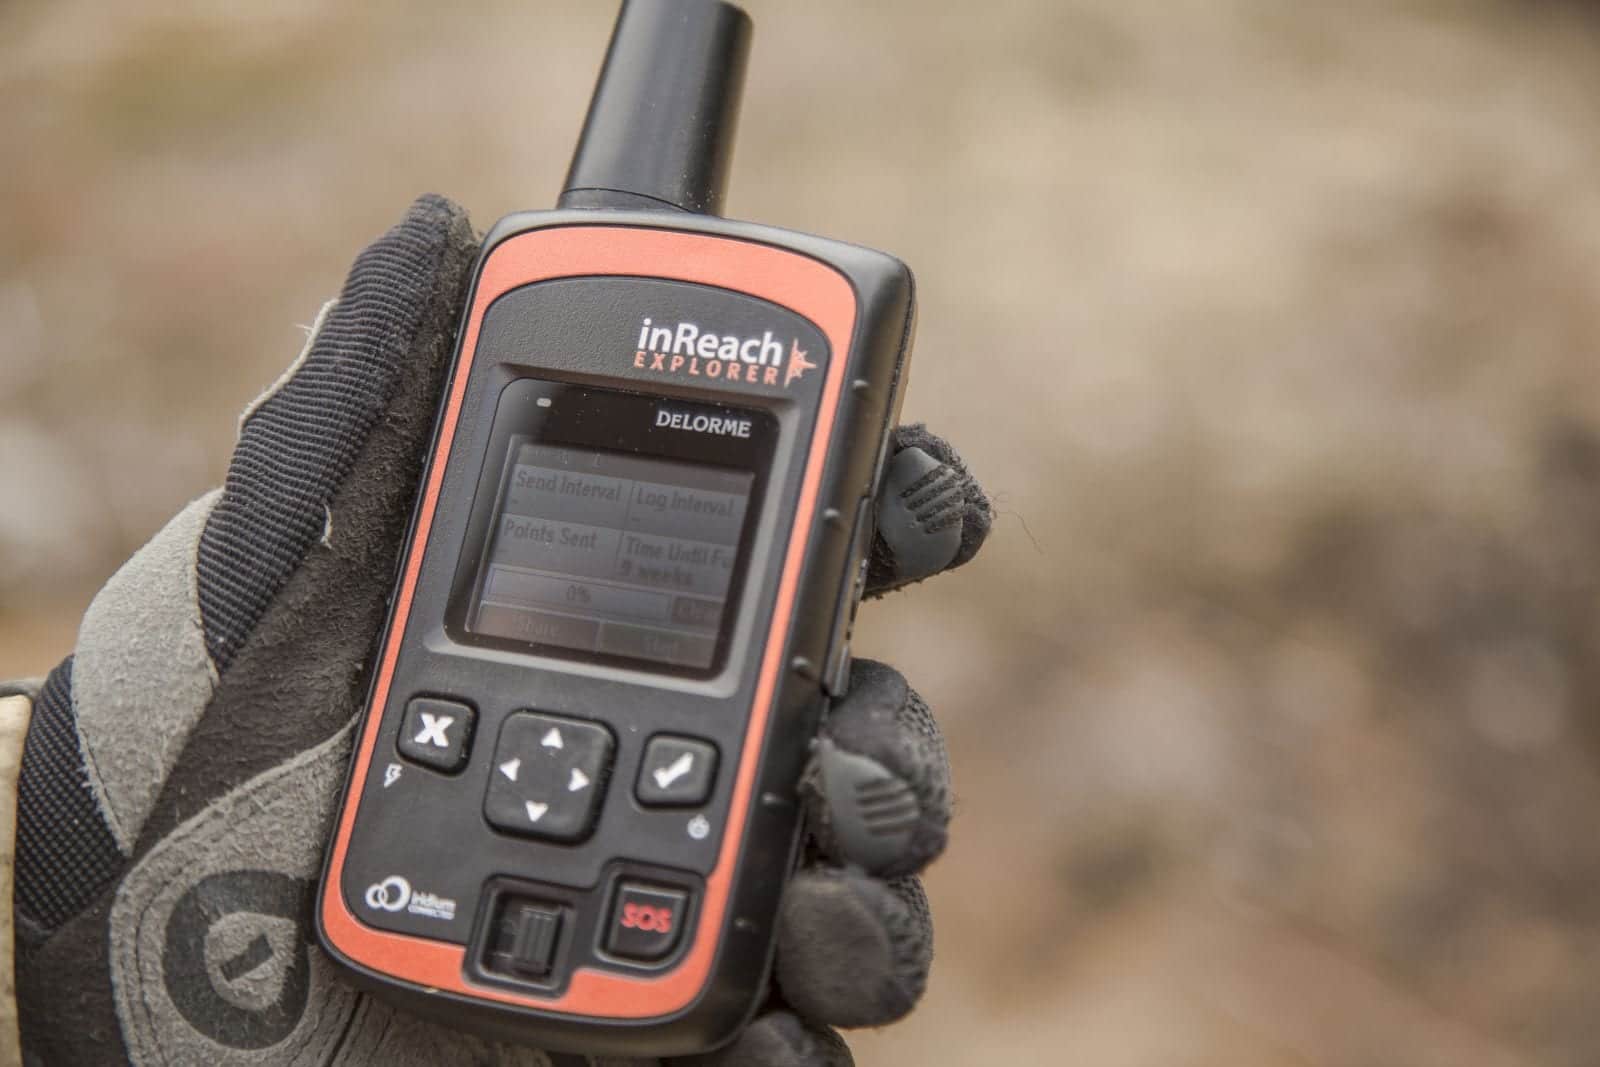
The inReach Explorer also allows you to track your route and this has two distinct advantages. First when exploring a new or unfamiliar trail system, the tracking feature will be a significant asset in case you need to back track for any reason. Next, when tracking is activated, your current location is sent to the inReach website regularly at a preconfigured tracking interval. By sharing your location via tracking intervals, your family and friends can not only follow your journey but also contact emergency services if need should arise.
Let say for example that you have been involved in an accident out on the trails and that for some reason you can’t reach your device to signal for help via the SOS button. Family or friends would notice that you are stopped at a specific location for an extended period of time and that you have not checked in or responded to two-way messaging. Since your location is being tracked, your family or friends can now give rescue teams your last known location.
One last note on tracking and intervals: the accuracy of your tracks greatly depends on the frequency in which you log track points. You can modify the log intervals in the settings->tracking menu. Take note, the faster log interval you set the more accurate your tracks will be, however battery life will suffer.
Conclusion:
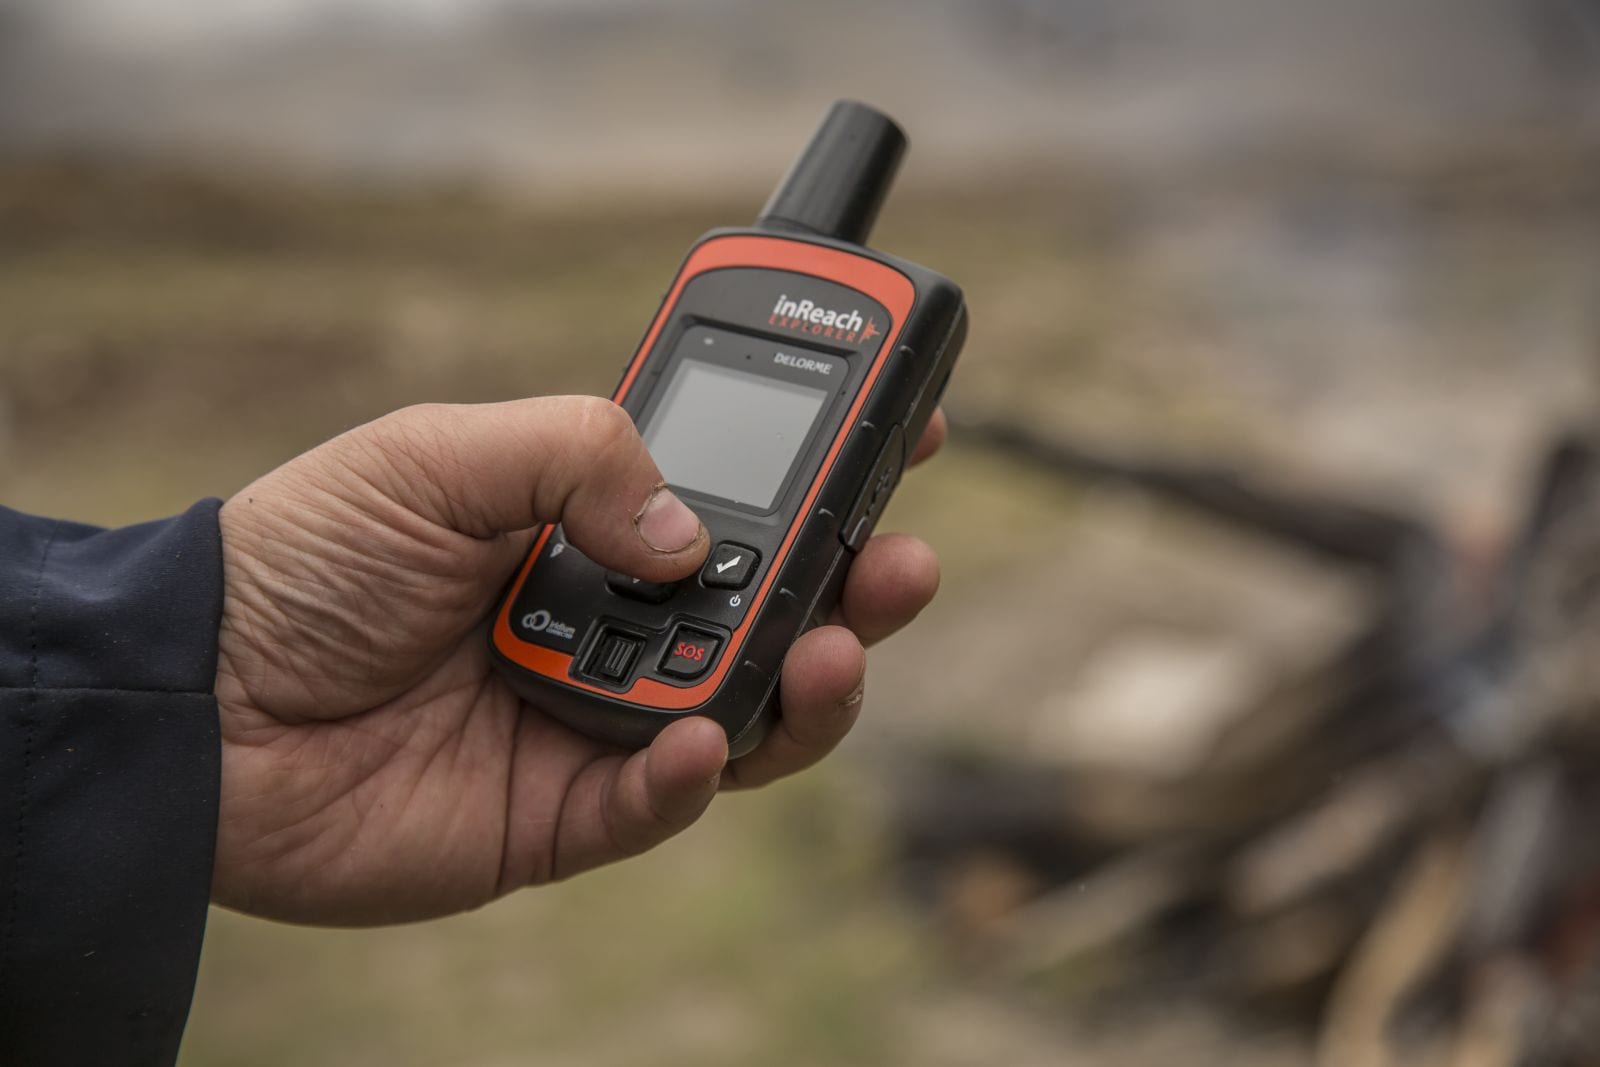
During our field-testing thus far, we have been exceptionally pleased with the communications and navigation capabilities of the inReach Explorer. The unit is compact which makes it easy to carry on your person, it is affordable and to date extremely reliable. Honestly, the greatest feature of this unit is that it provides true piece of mind.
As I stated at the beginning of this article, I regard the inReach Explorer as “essential hardware” for any UTV off-roading enthusiast or backcountry explorer for that matter. The inReach Explorer is now part of my indispensible gear; I simply won’t leave home without it!
For more information on the inReach Explorer, coverage or subscription plans, please visit inReach Canada: www.inreachcanada.com
Technical Specifications
Physical Specifications
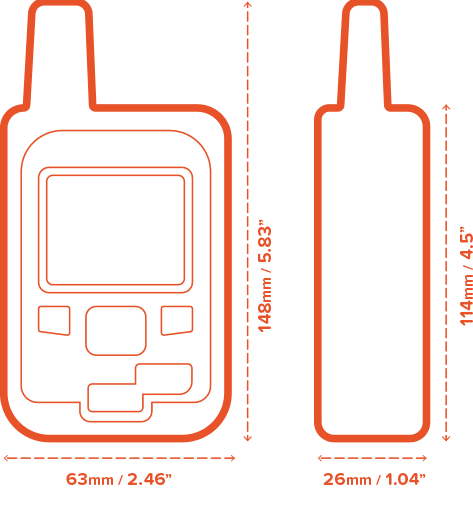
- Dimensions: H 114 mm (148 mm including antenna); W 63 mm; D 26 mm (34 mm including belt clip)
- Weight: 190 g (with internal lithium polymer battery)
- Water rating: IP67 (tested for submersion at 1 meter for 30 minutes)
- Rugged, dustproof and impact-resistant (Mil-STD-810G for shock; IP67 for dust)
- GPS accuracy +/- 5 meters
- Virtual keyboard with predictive text for two-way messaging
- Digital compass, barometric altimeter and accelerometer
- Odometer displays trip stats in-field (e.g. trip time, max speed, moving avg. speed, distance)
- LED and audible ‘chirp’ alerts for: new message received, power on/off, and more
Temperature Ranges
- Operating temperature: -20°C to 60°C
- Storage temperature: -40°C to 85°C
- Battery charging temperature: 0°C to 45°C
Battery Power
- Internal lithium polymer battery (2450 mAh capacity at 3.7 V)
- Battery life: 100 hours (sending one track point every 10 minutes with a clear view to the sky)
- Recharge via a standard Micro-USB cable with a wall, car or solar charger, or a powered RAM mount
- Note: For optimal battery life devices should be stored between 0°C to 30°C at a charge level of 40-60%
Smartphone Compatibility
- Made for iPhone 6, iPhone 6+, iPhone 5s, iPhone 5c, iPhone 5, iPhone 4s, iPhone 4, iPad air, iPad mini with retina display, iPad (3rd and 4th generation), iPad 2, iPad, iPad mini, and iPod touch (4th, and 5th generation). Android 2.2 or later.