When we look at all the different internet forums about the maintenance of the air filter on a quad, we quickly realize that the filter choices and the maintenance method are very different and even sometimes far-fetched from one person to another. Everyone has their special recipe. Let’s go around the subject together to understand what is going on.
Let’s find out a little more
What are the roles of the air filter? Yes, the filter does a lot more than filtering the air !!!
The air filter is mounted inside your engine’s air intake; its primary function is to retain particles suspended in the air.
Another role of the filter, combined with the airbox, is to muffle the sound of air rushing into the engine. This purring sound may be melodious to some but irritating to others. Replacing the original filter for a performance one or modifying the filter housing will often make this noise more noticeable.
Finally, the filter also acts as a backfire barrier. Today, most quads are fuel-injected, and backfires are very uncommon. However, this is still possible with a carbureted machine where too much choke could easily produce one.
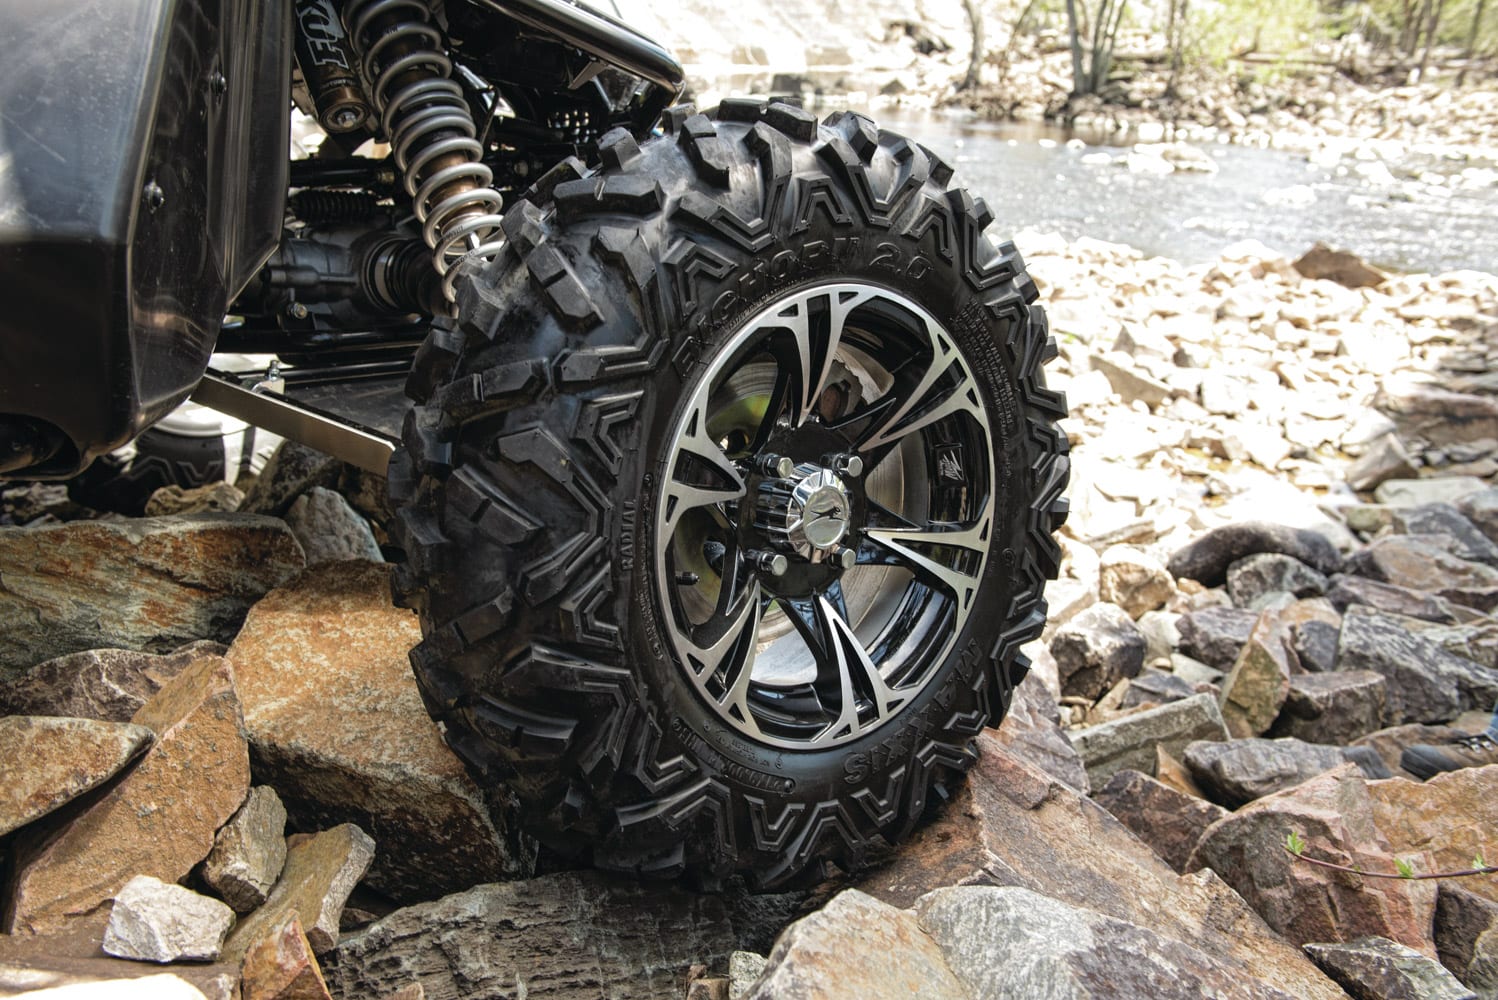
That being said, we will mainly delve into the filtering function. We cannot ignore that the operating environment is often very arid and filled with dust, mud, snow, water, and other stuff found in nature. It should not be overlooked that the filter housing works hand in hand with the filter.

Let’s follow the airflow
The filter housing will capture the air in the least dusty and uppermost place on the ATV, often near the handlebars, to get a minimum of water and dust. The box will also control air turbulence to let it enter more evenly into the engine and improve performance. The airbox then continues its job by deflecting water and larger particles in the bottom while avoiding contaminating the filter. The accumulated water will come out of the airbox through an orifice that lets it pass to the outside. Larger particles will remain trapped there. From now on, the filter completes the air cleaning process by retaining fine particles.
Let’s not forget the most important
Contaminant intrusion into an engine can have severe consequences. Dust must never pass on the motor side of the filter.
In the case of an injection quad, the first drawback of contaminated air will be the clogging of the various sensors in the air intake. They are used to calibrate the perfect amount of gasoline to inject and must be kept clean to be as precise and efficient as possible.
The second drawback is very significant: the abrasive effect of dust on the engine’s internal components. The damage is irreversible and will result in substantial and costly engine repairs. This could result in poor performance and overconsumption of oil, going as far as the destruction of the engine.
Now let’s move on to the workshop
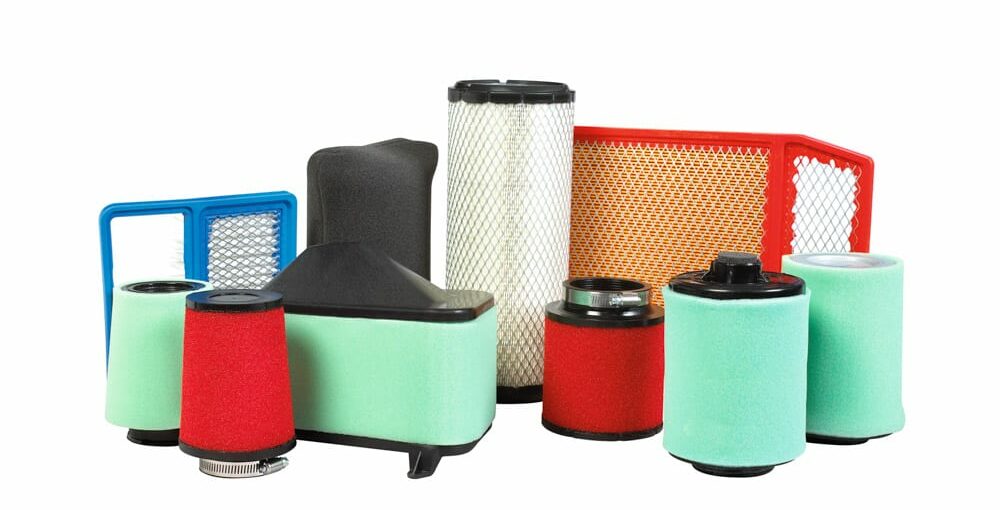
In the quad industry, manufacturers mainly use two types of air filters: one made of paper similar to those used in the automotive industry, and the second type made of foam. We can also find a mixture of the two styles combined, filter paper covered with oiled foam. The maintenance is very different between these two types of filters, but their performance is generally 97%, or 6 microns, provided it is well maintained.
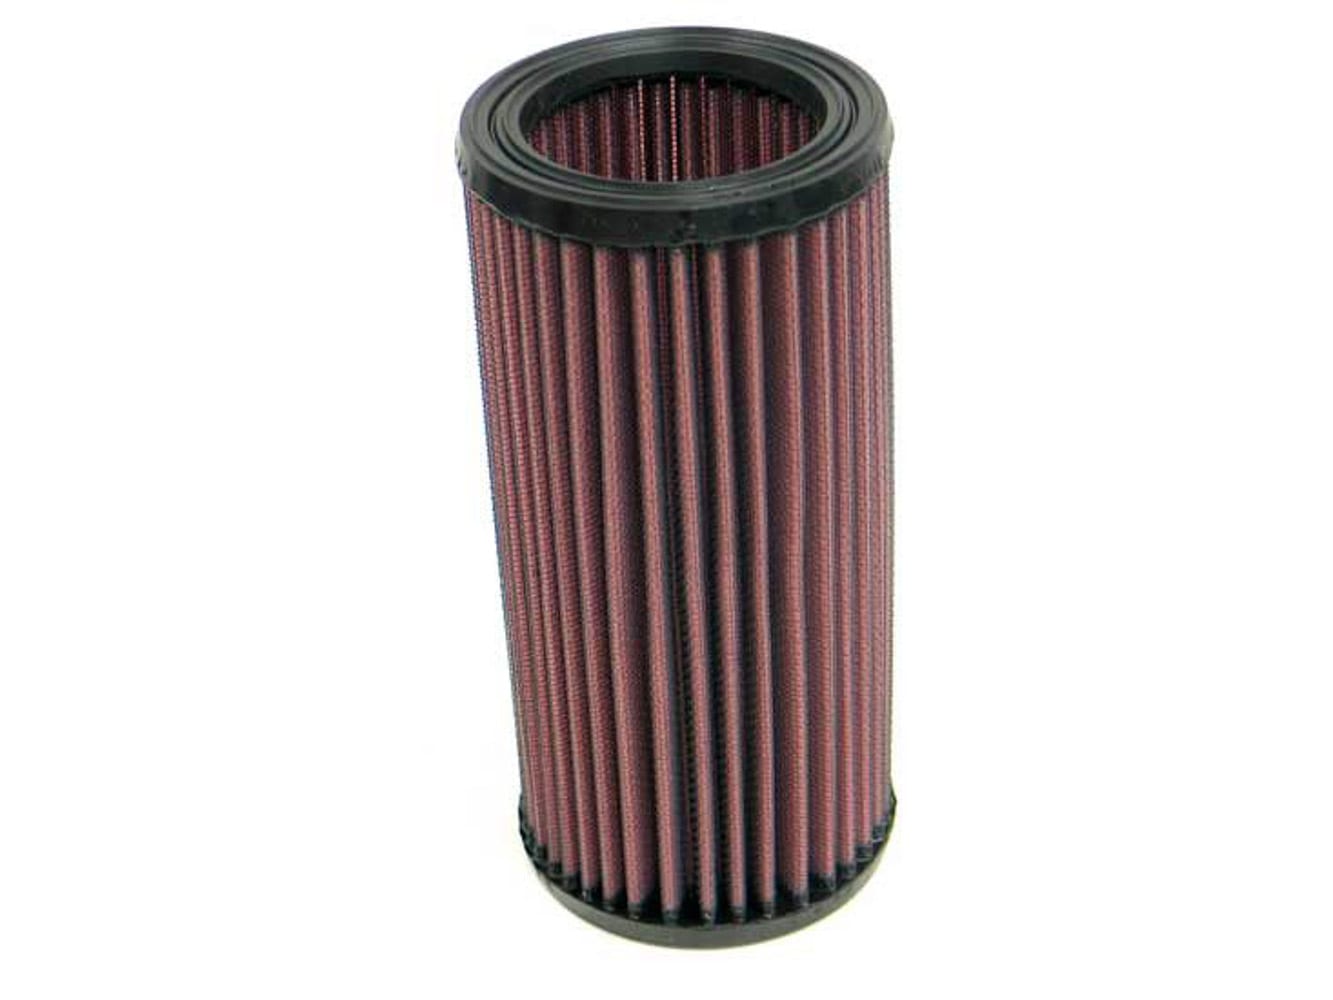
First, let’s look at the paper filter
This filter is maintenance-free; it should be thrown away and replaced with a new one when it is too dirty. In some quad models, it is covered with a pre-filter which requires relatively simple periodic maintenance. Its function is to block the largest impurities.
Checking the condition of the paper filter is all about removing it from its housing and passing light from the inside to the outside using a mechanic’s portable lamp. If the filter is damaged, as minimal as it may seem, it must be replaced. If possible, compare it with a new one, and you will quickly confirm its condition. You can also tap it lightly on a flat surface and see how much dust it will leave there. If in doubt, replace it anyways. You will never replace a filter too often.
NEVER blow the filter with compressed air; the result will be more damage than anything else. The air pressure will transform the surface of the filter by modifying the positioning of the paper fibers. The filtration efficiency will be reduced as the size of the paper cells will be enlarged.
If equipped with one, the pre-filter needs to be cleaned with soapy water, thoroughly rinsed, and air-dried. This maintenance should be done very often. The manufacturers suggest doing this on every ride.
Second, the foam filters
There are several configurations of foam filters, but their maintenance is generally similar. There are single foam and double foam filters.
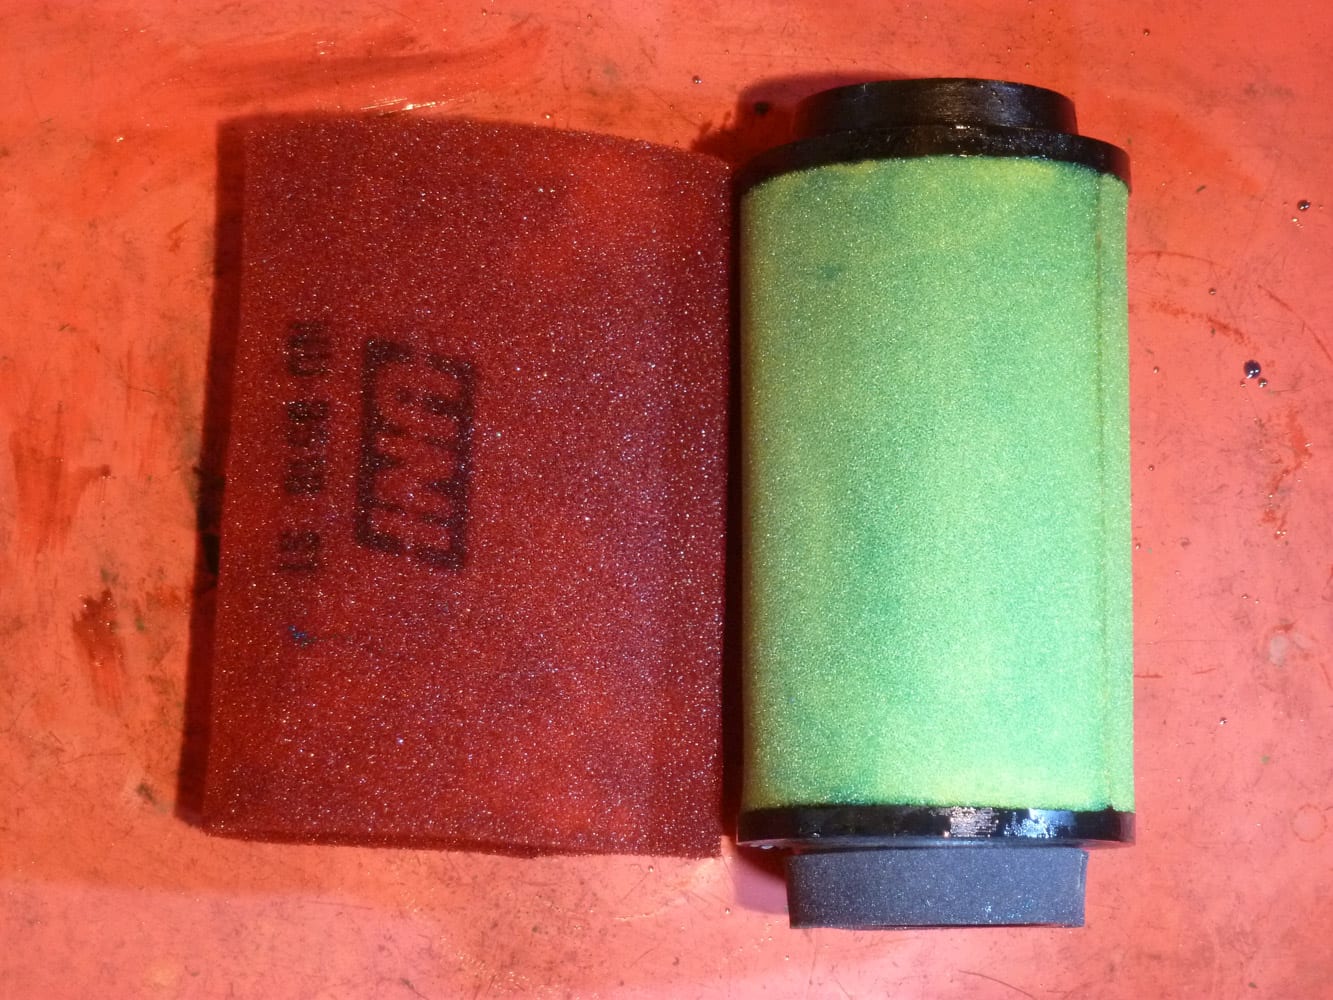
Here we see an original single foam filter that can be removed from its support to facilitate maintenance. In this photo, we can see that it’s self-evident it needs to be cleaned.
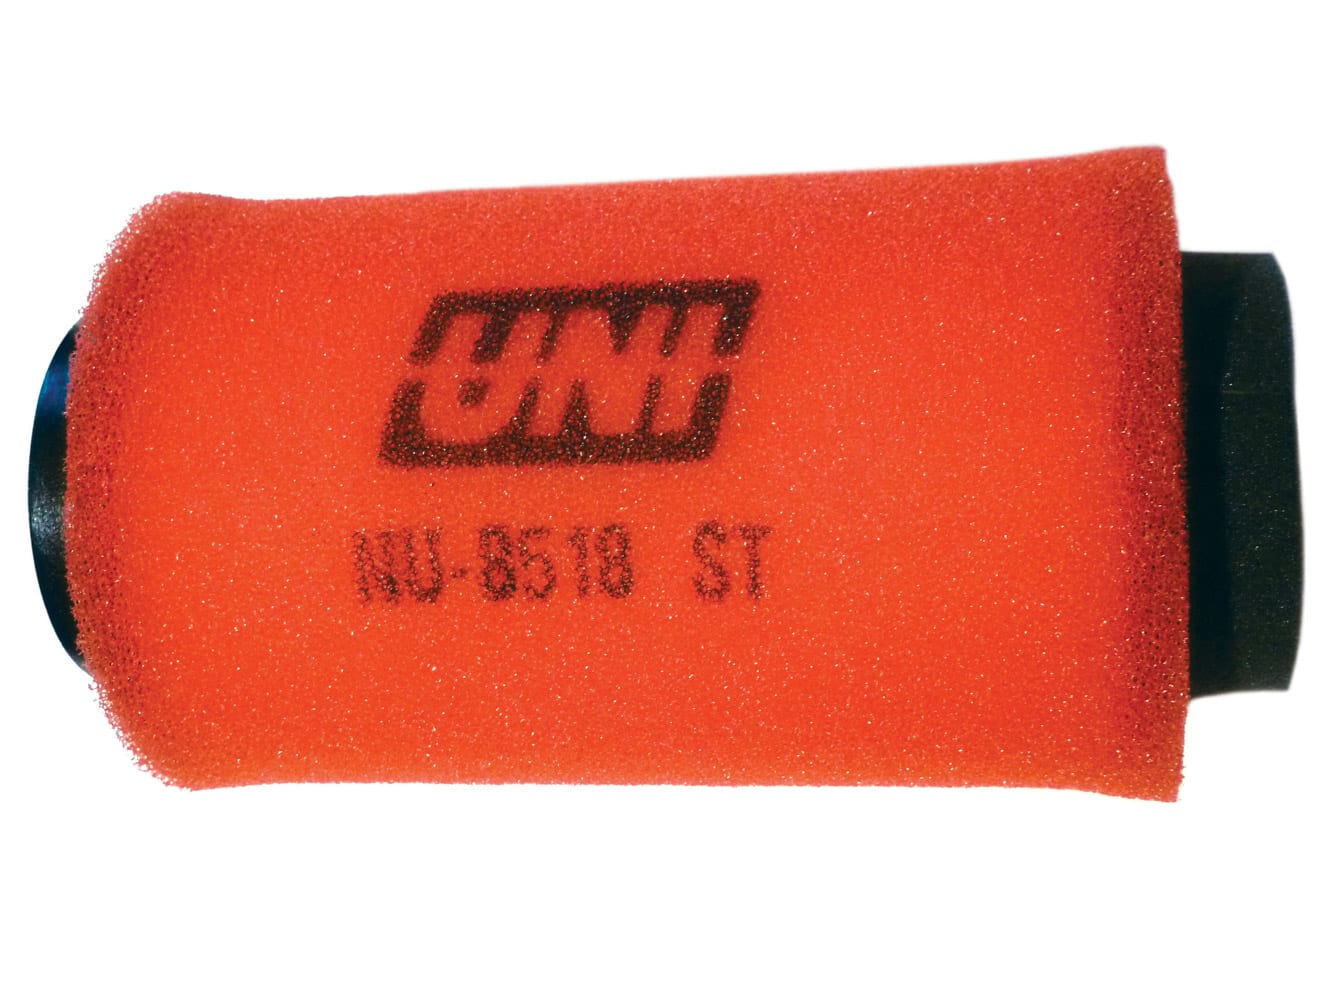
This UNI filter is double foam type. The outer foam acts as a pre-filter, and its density is lower. The pre-filter can be removed from the assembly. The filter itself does not separate from its support which slightly complicates the maintenance.
Now is the time to work on it
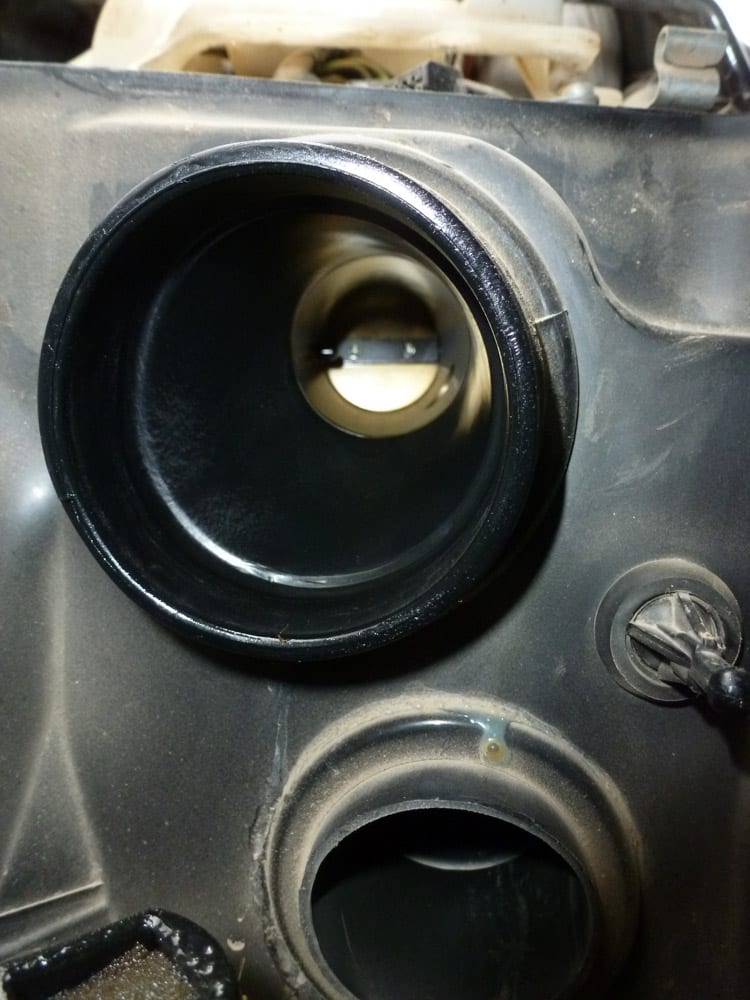
Access your filter by removing the air filter housing cover. The owner’s manual will show you how to get access to it. You will see the filter there in the airbox; notice the dirt at the bottom of the case. There is water, dust, oil, and a bit of everything. Don’t worry if you see a small amount of engine oil in there. It is the crankcase ventilation that breathes in through the filter housing and sometimes leaves oil there.
Remove the air filter, taking care not to let any dirt enter the engine air intake. With the filter removed, inspect the intake pipe for dust accumulation. If you find dust there, look for the source of the infiltration and fix the problem without delay.
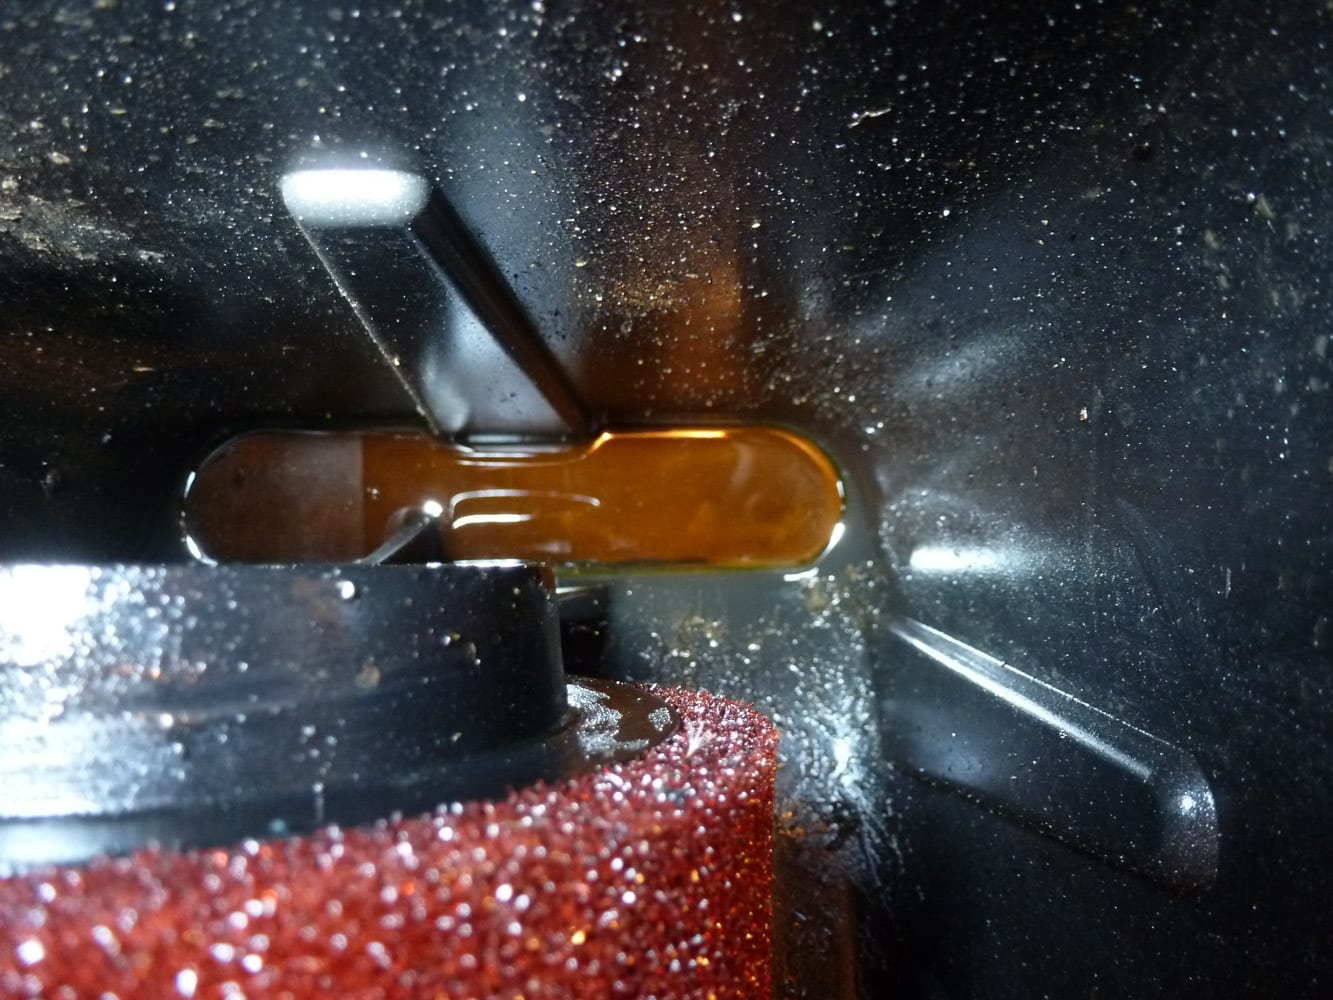
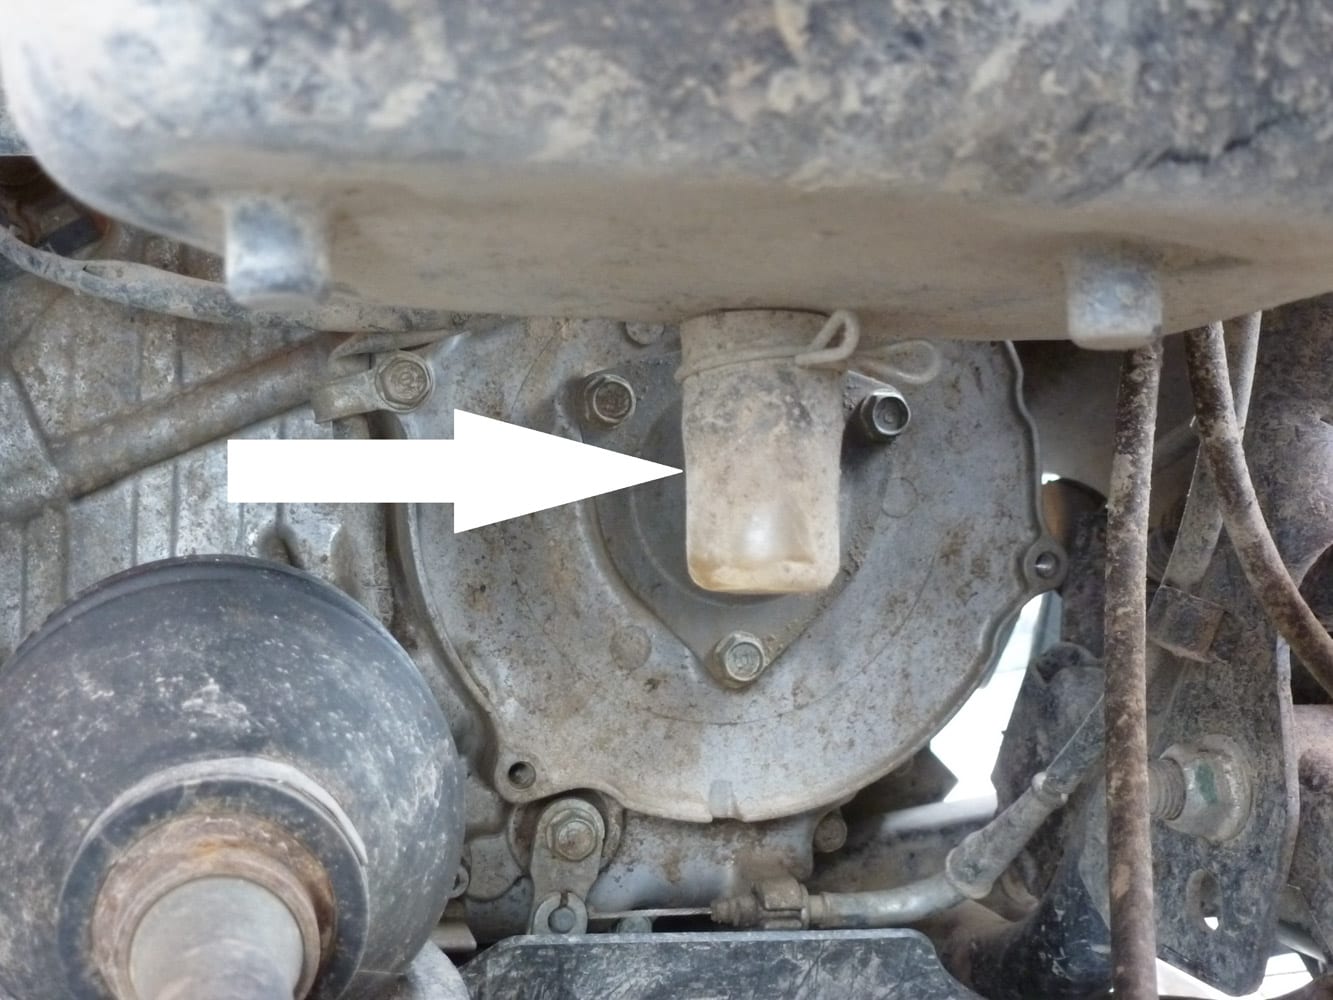
To clean the filter housing, remove the drain plug at the bottom. Let it drain and clean the inside. For my part, I use brake parts cleaner and a rag. It’s very effective.
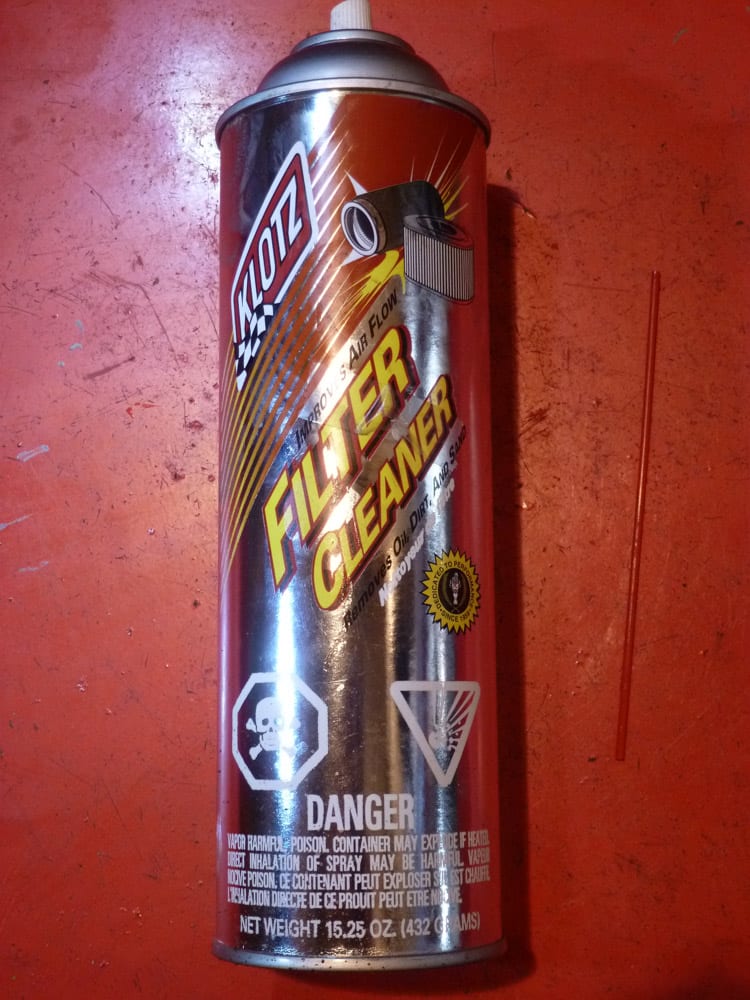
To wash your filter, I strongly advise against using gasoline. It is preferable to use a non-flammable solvent or a product with a high flash point (e.g., kerosene). A product specially designed for this job is more efficient, safer, cheaper, and smells better.
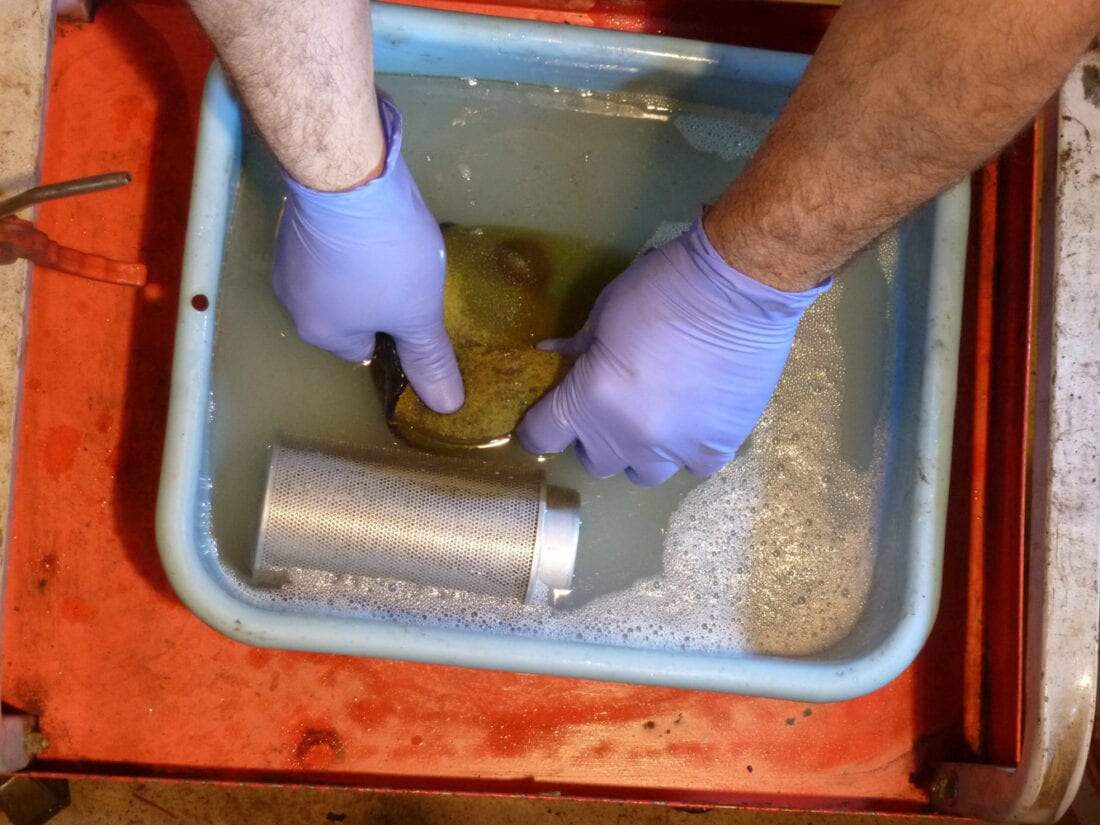
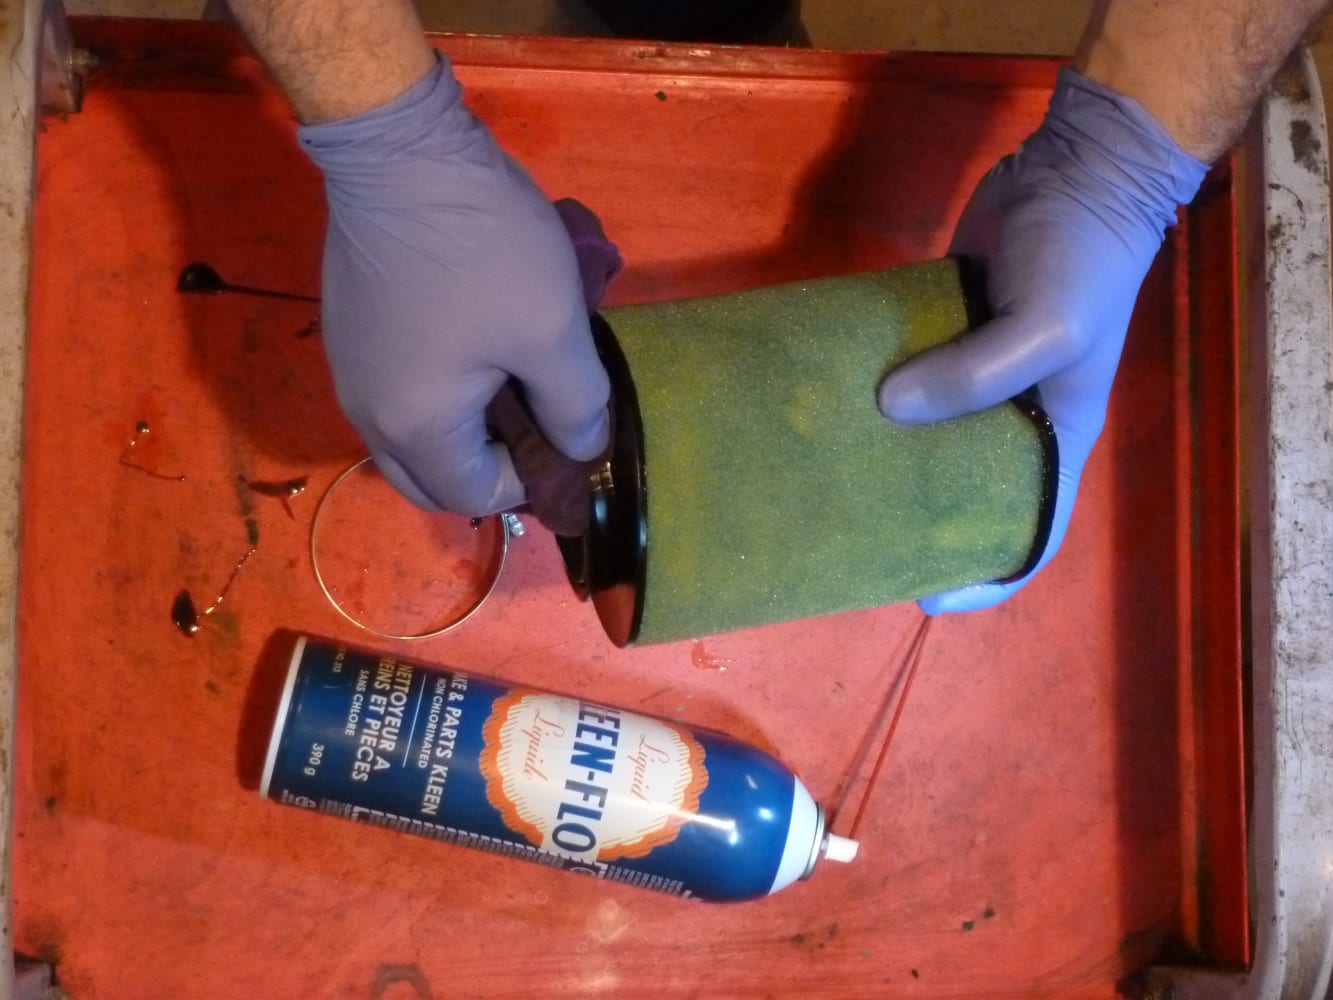
It’s bath time
Separate the filter from its holder, if applicable. Soak the filter in the cleaner, work it in with your hands and let it sit for a few minutes.
Rinse the filter in hot soapy water. Drain it, but don’t wring it out. The twist will ruin it. Repeat the rinse with clear hot water and drain.
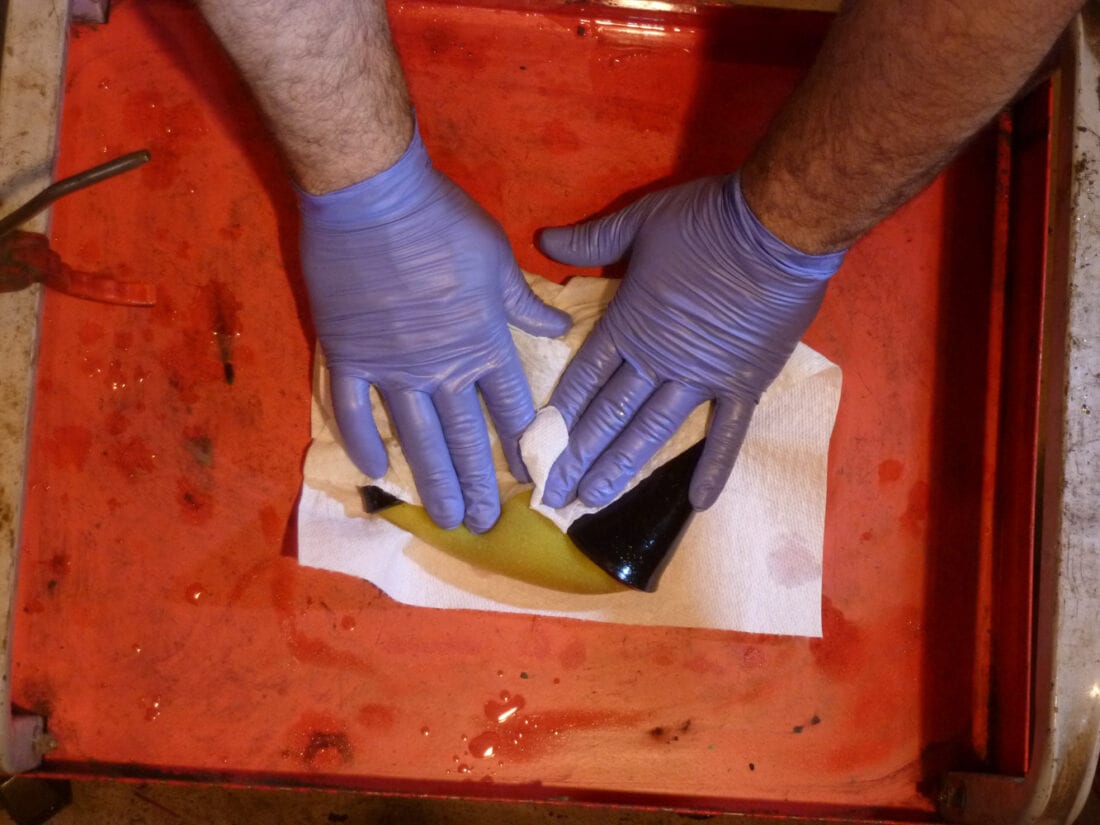
Sponge the filter several times with a paper towel and allow it to completely dry. It must be dried well for the next step; otherwise, the water remaining in the filter will push back the filter oil.
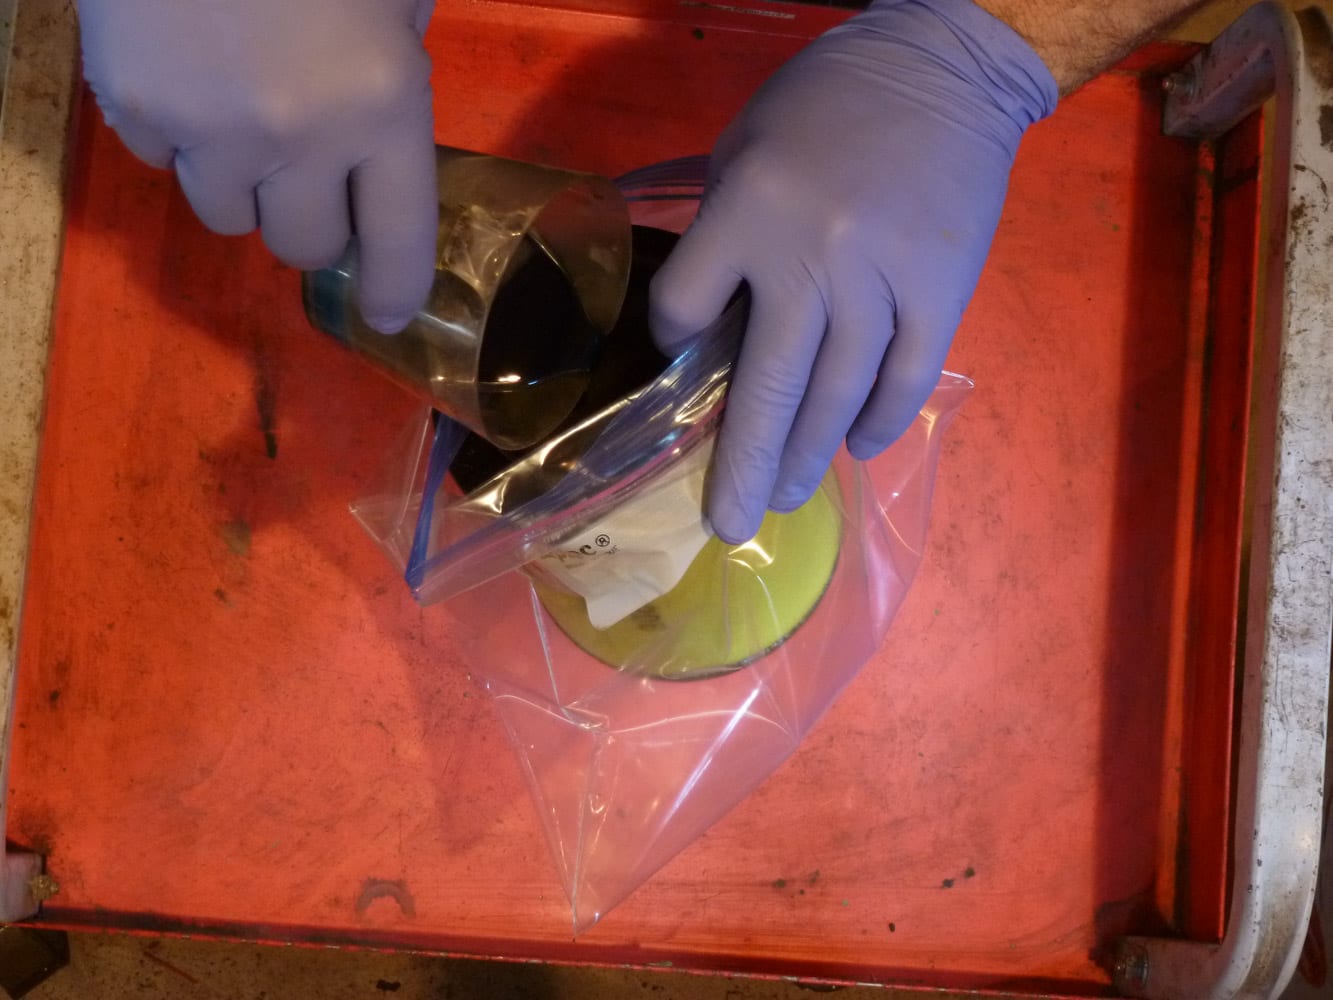
Once the filter is dry, it’s time to oil it. For my part, when I have a filter without its holder, I use a Ziploc bag and insert the filter in it. I pour in about one once of foam filter oil and close the bag. I massage the filter to get the oil in evenly. Colored oil helps confirm even application.
In the case of a filter that does not separate from its holder, I use a quantity of foam oil that I spread in my hands and then massage the filter. The amount of one once is usually good. If you have a foam pre-filter, oil it the same way with a Ziploc. Drain it to remove any excess oil. The uniform color confirms the correct application.
In the case of a filter that attaches to the filter housing with a collar, it is essential to clean the mounting flange. An oily flange could slip and disconnect from the case. The filter would then end up in the bottom of the airbox and be of no use.
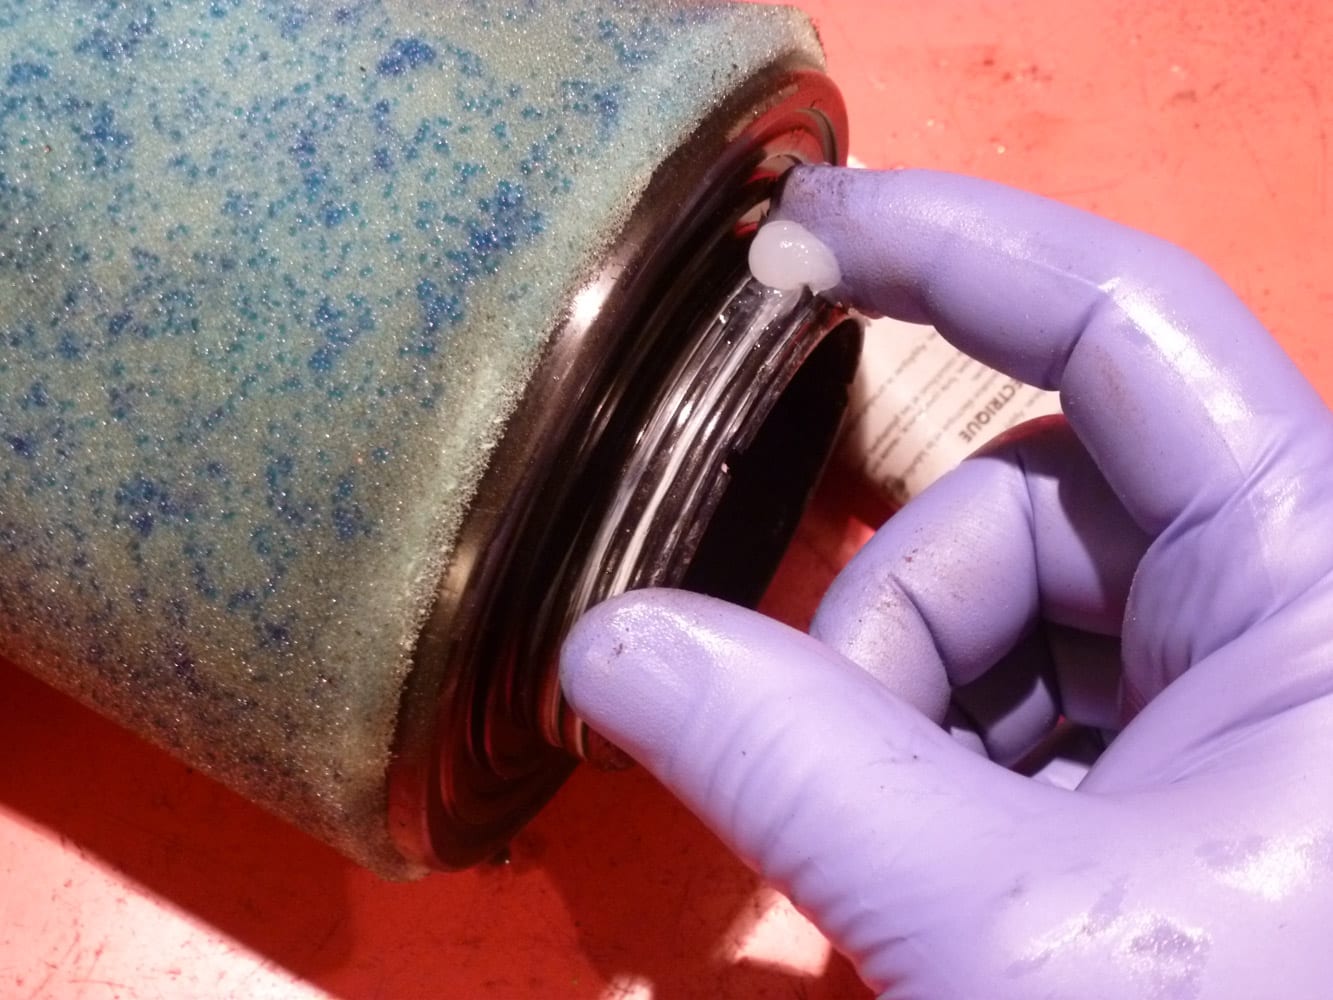
When the filter is wedged between the cover and the airbox, it is advisable to apply grease on the points of contact of the filter. The grease will ensure a tight connection: it fills the small gaps and traps the dust that may infiltrate there.
Conclusion
The choice of air filtration is very personal. A paper filter is a simple maintenance item, but some people find it expensive. The oil filter is easier to check for contamination. The paper one will get dirty on the first ride and will not change color after that. The contact surface of the paper filter in its housing should be carefully greased to prevent the ingress of dust; this is a weak point. For all of these reasons, I prefer oil models, despite the extra maintenance they require.