Nothing is worse than riding your quad with the feeling that something is wrong with the engine. This feeling can quickly destroy the fun this ride was supposed to bring and turn it into unpleasant anxiety. If you have any doubts, there are probably symptoms that justify them.
Whether it is smoke, burnt oil smell from the exhaust, unusual noises, or poor engine performance, all these can come from a defective engine. In the event of noise or loss of power, you may have to dig a little deeper. A poorly functioning clutch can distort your diagnosis by producing irregular noises and low performance. Now, if you are sure the source of your troubles comes from the engine, let’s get a closer look at it.
Wait before disassembling your engine into piece parts!
Too often, resourceful ATV riders sacrifice their machine for the science of learning by trial and error. Once the engine is spread out in multiple pieces on the workbench, the mechanic finds himself in a very uncomfortable position where he can’t determine anything that shows an apparent defect. It is at this very moment that he understands his mistake. Then begins the fun of measuring and inspecting all the parts. At this stage, it is not always easy to determine whether or not one specific part is the problem. After trying everything, the apprentice mechanic packs all the parts in a box. Then the poor man walks into a mechanic shop, hoping that the technician there will instantly point his finger at the part that is the cause of all his problems. In reality, the mechanic will probably look at you with wide contemptuous eyes and give a sigh that will tell you a lot. Finally, he will more than likely replace any parts that show minor wear, and the repair bill will be unnecessarily expensive.
This whole misfortune could have turned out quite differently. A simple compression test paired with an engine cylinder leak check would have changed everything. With well-mastered diagnostic techniques, you can save a lot of time and money. It is possible to know whether the engine is really at fault and pinpoints the origin of the defect even before you disassemble the motor. All this can be done simply through the spark plug hole.
What you need:
- Spark plug socket and socket set
- Engine compression gauge
- Cylinder leak tester
- Compressed air available at over 100 psi.
Static compression test
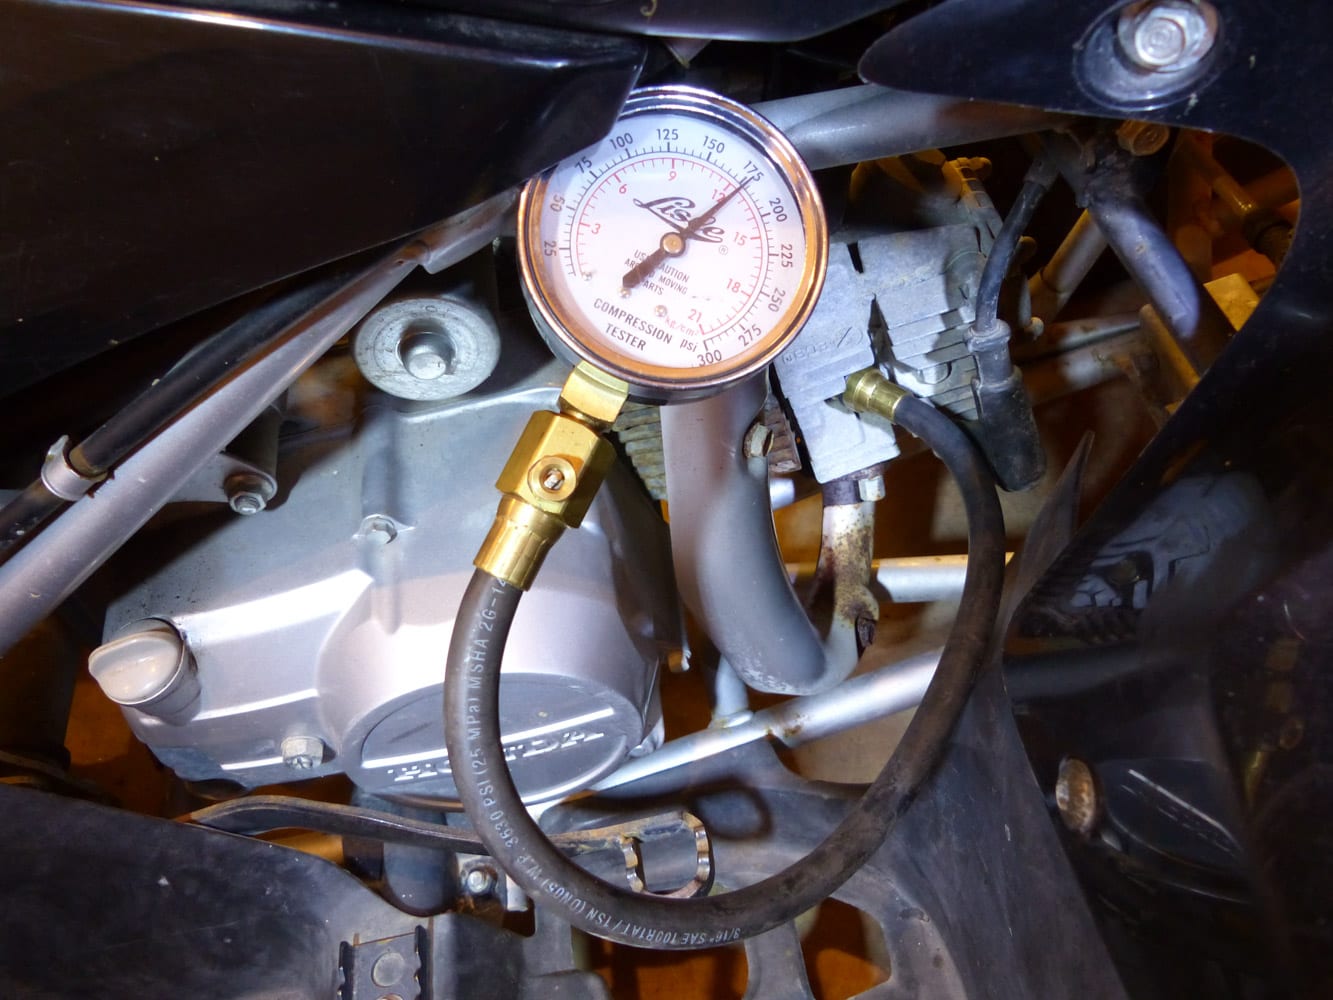
We will use a compression gauge specially designed for this job. This tool measures the maximum pressure obtained in the cylinder at the top of its stroke. First, find the compression specification from the engine manufacturer. Ensure the battery is fully charged. Remove the spark plugs. Ground the spark plug wires to avoid damaging the ignition circuit. Turn off the injection system to prevent flooding the engine cylinder with gasoline. Install the compression gauge in place of the spark plug. Keep the throttle wide open to allow the engine to breathe well. Crank the engine over with the starter and count five compression strokes. Note the reading on the compression gauge.
Interpretation of the measurements
If the engine compression is 70 KPA / 10 PSI over the specification, here are the possible causes:
- The engine may have had performance modifications
- Some carbon has buildup in the combustion chamber
- The distribution chain that is not synchronized correctly
If engine compression is below specification:
Pour a small amount of engine oil through the spark plug hole (about one teaspoon). Crank the engine a few revolutions to distribute the oil evenly throughout the cylinder. Measure the compression once again using the same number of compression cycles as above.
If the reading has significantly increased, then the loss of compression is due to worn piston rings or a problem with the cylinder wall.
If the compression remains about the same, then the compression leak may be due to defective valves or a piston damaged to the point that it can not be sealed with the additional oil. In the case of an engine with parallel cylinders and which reads low compression on both cylinders, the head gasket may be the source. It can also indicate a problem with the valve timing. Before you condemn the entire engine, check them.
In this example, I used a 2006 Honda TRX 90.
The manufacturer’s cylinder compression specification is 178 PSI. The reading obtained on the gauge is between 175 and 180 PSI, so we assume no problem so far. This compression test is easy to perform; however, it lacks precision.
Cylinder leak detector
Leak down test
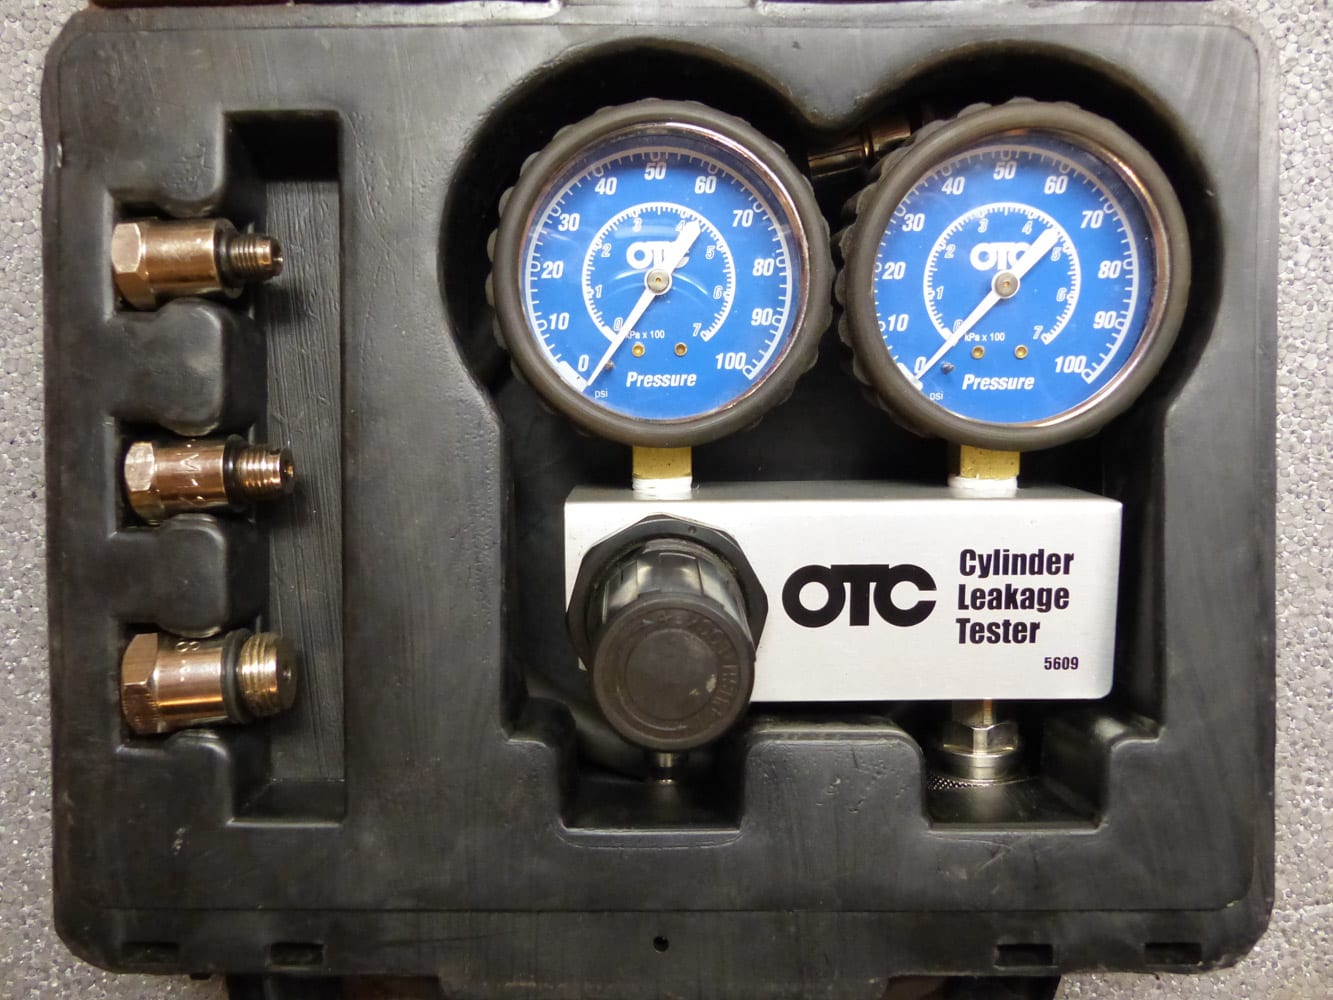
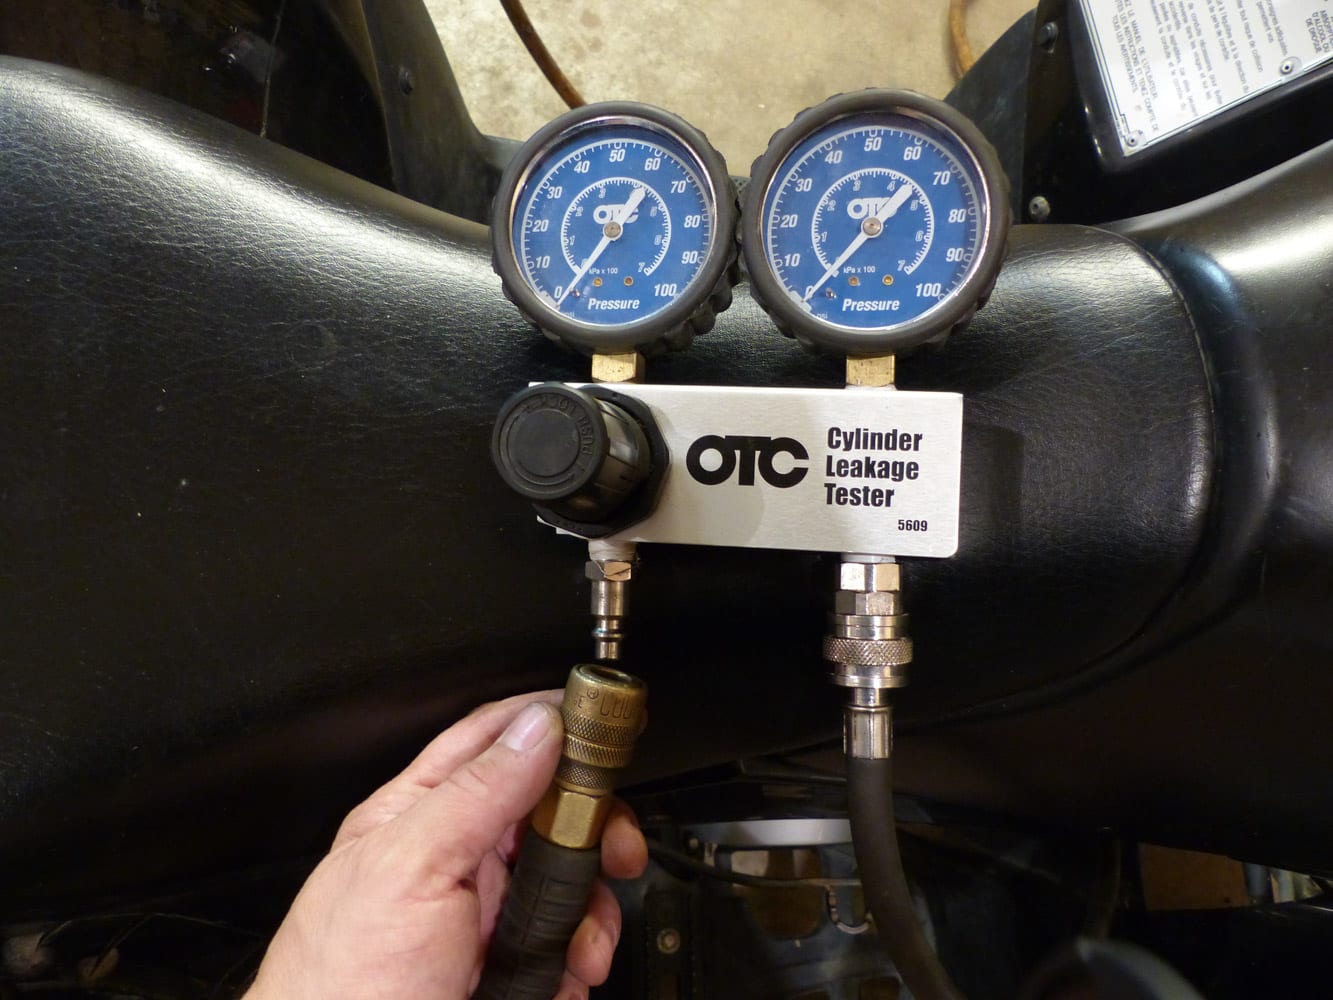
The tool used for this test consists of 2 manometers: the first gauge indicates the pressure injected in the cylinder, and the second measures the remaining pressure. Some tools are available with only one manometer, but I do not recommend them.
The cylinder leak-down test is the ultimate compression test. After the static compression test indicated a problem, this test should be used to isolate the cause. Sometimes the compression test won’t tell much. Performing the cylinder leak test is very revealing.
To conduct a cylinder leak test, you will need the Cylinder Leak Detector tool, which usually contains the necessary adapters for different spark plug threads. A source of compressed air of at least 100 PSI is required.
How to set it up
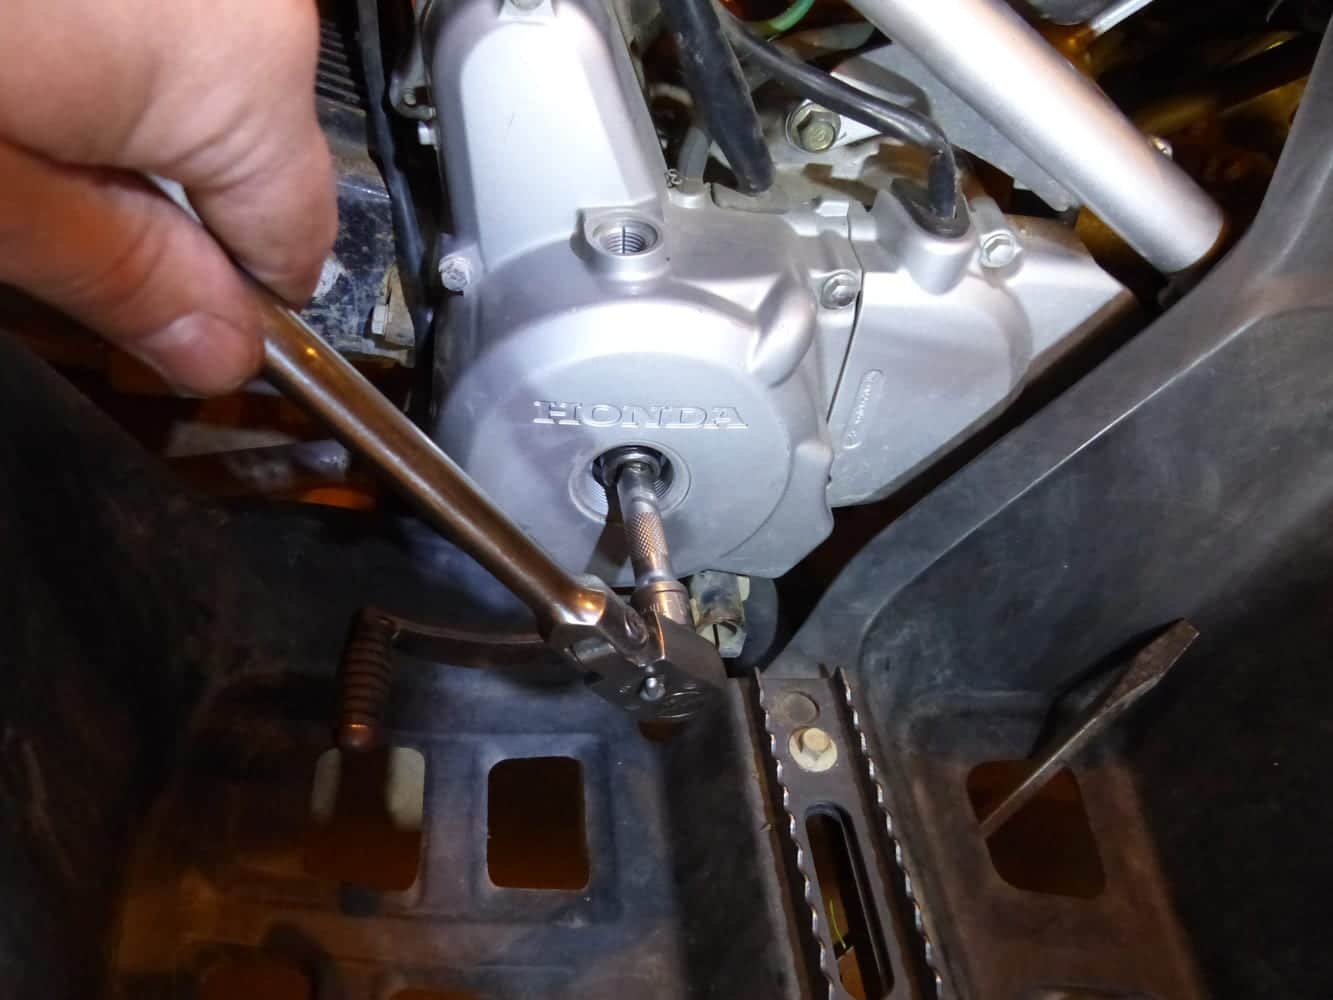
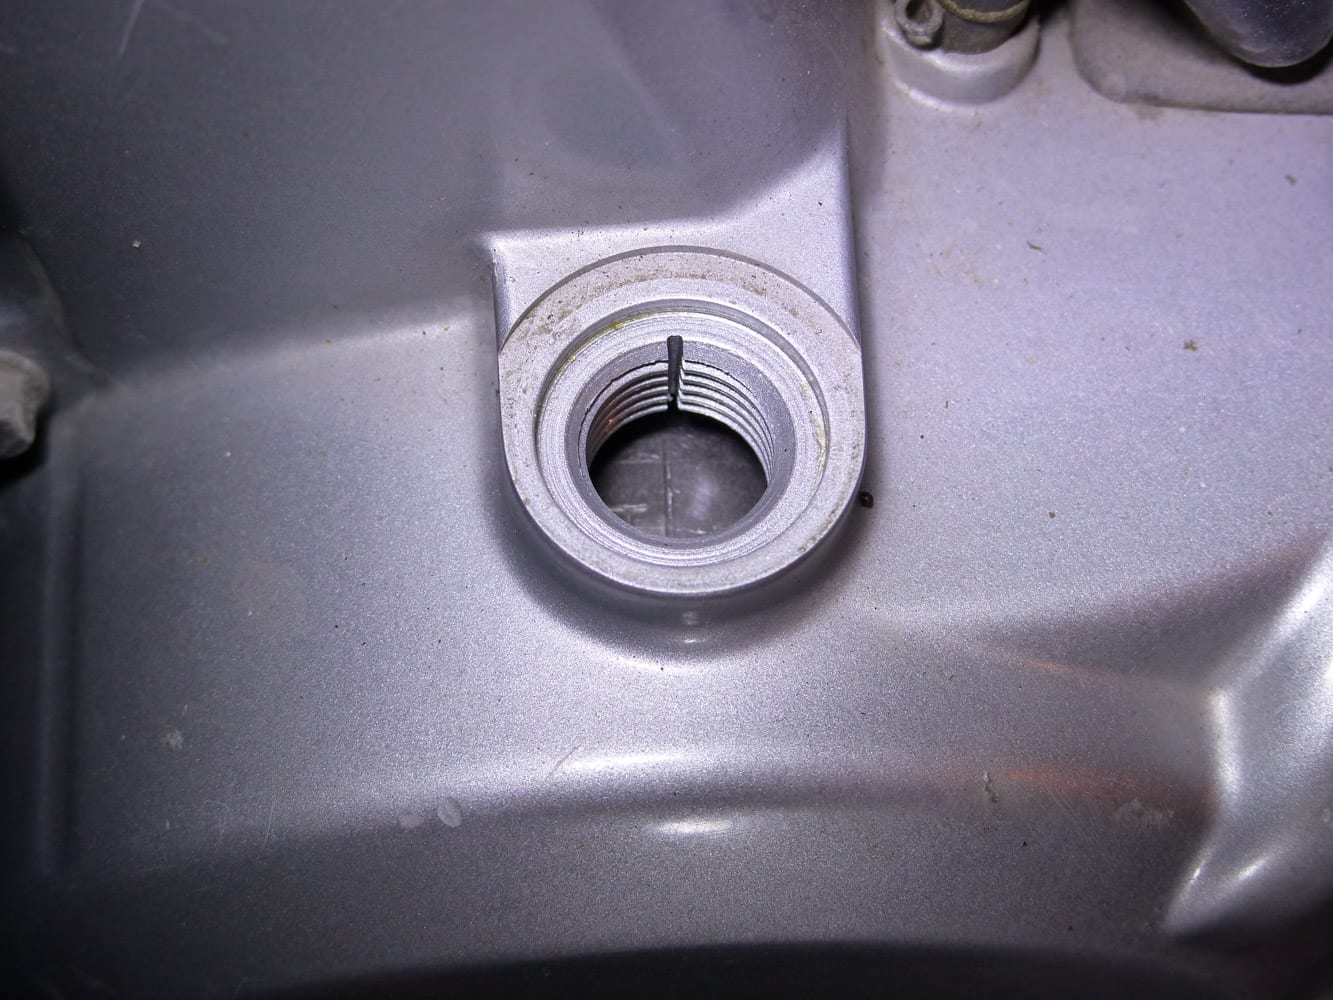
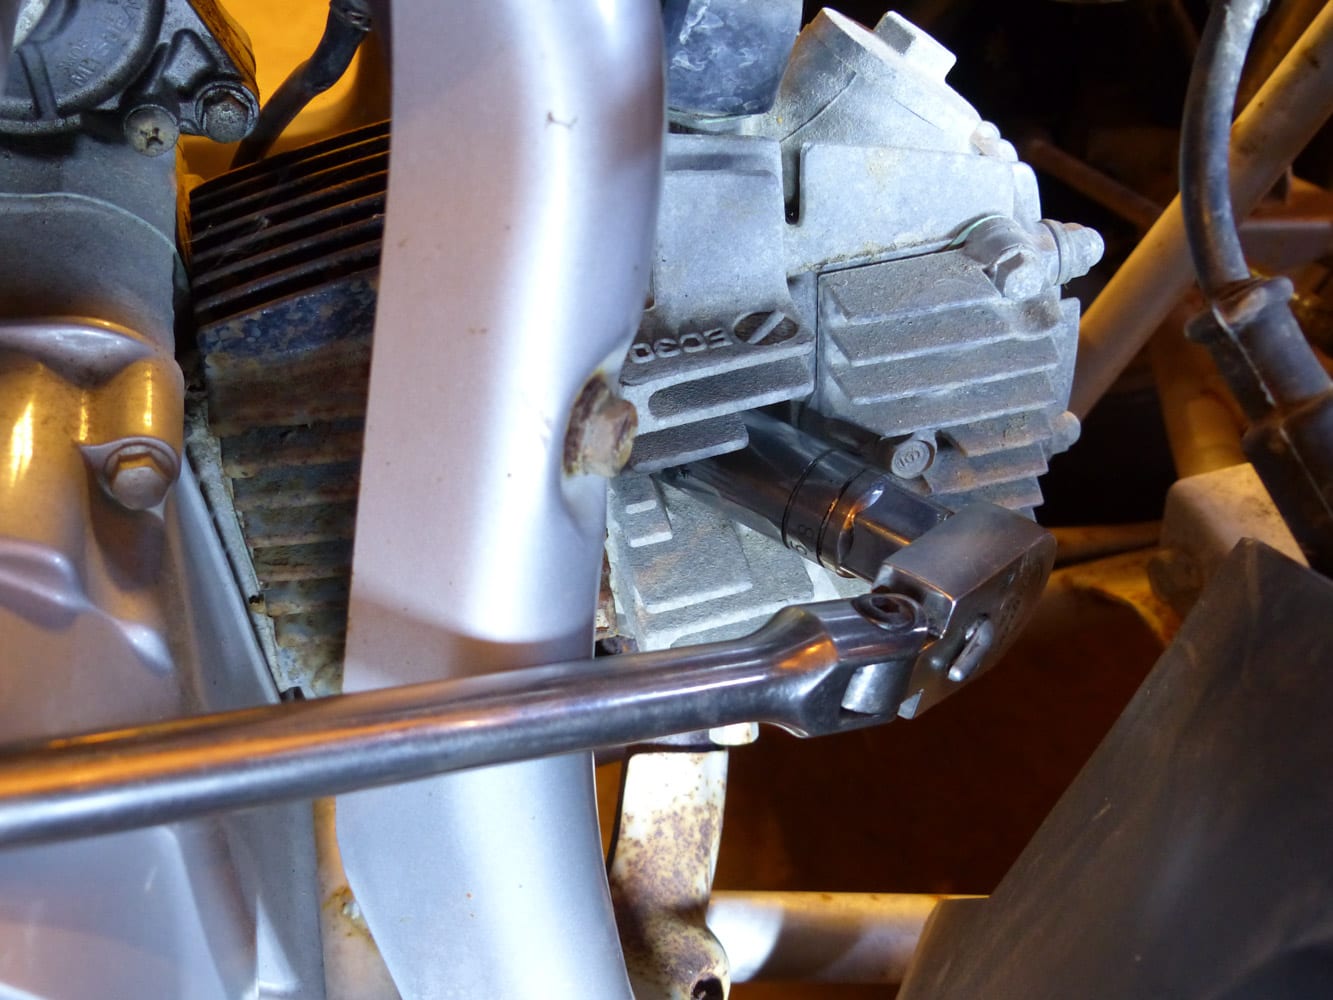
You will have to position the engine piston at Top Dead Center (TDC). This means the piston is placed at the top of the cylinder at the end of the compression cycle. You can use a soft pin through the spark plug hole until you touch the top of the piston. Turn the engine crankshaft by hand until the piston is at its highest. Ensure you are at the compression cycle otherwise the valves will be open, resulting in a massive leak. You can also confirm the engine position by observing the T mark on the flywheel. Align the T with the mark on the engine block. Most of the time, you can easily access it by removing a plug. To manually rotate the engine, another cap on the side of the motor provides access to the flywheel bolt.
Now, all you have to do is put the test tool in place of the spark plug. When compressed air is applied, the piston must remain at Top Dead Center for the whole duration of the test. If the piston moves, repeat its positioning; the measurement obtained if it moved is not good. A piston perfectly positioned at Top Dead Center will not move. Do not leave any tool attached to the flywheel. The pressure exerted on the piston during the leakage test could cause the engine to rotate and project the tool. Connect the compressed air supply to the tester.
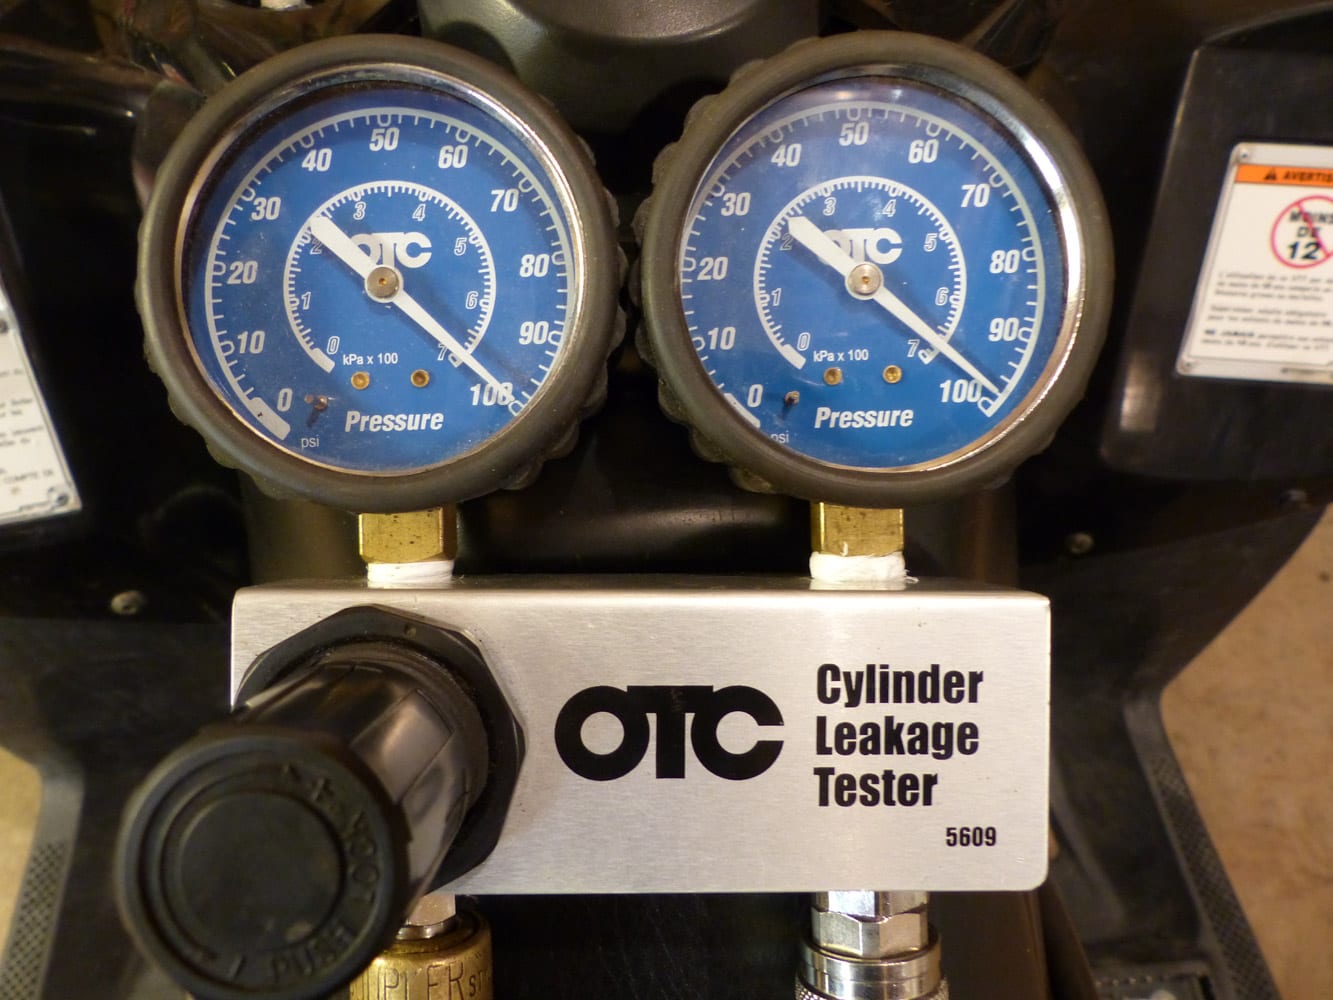
Adjust the first pressure gauge to 100 PSI. The reading of the second pressure gauge is the residual pressure in the engine cylinder. Make the difference between these two measurements: this will provide the percentage of leakage. For example, the first manometer reads 100 PSI, and the second is at 98 PSI. 100 – 98 = 2. Leakage is 2%.
Interpretation of the result
- First thing first, a result of 0% is impossible.
- 0% to 5%: the engine is in excellent condition.
- 6% to 15%: the engine is in good condition. Normal condition.
- 16% to 25%: the engine shows wear and is in poor condition.
- More than 25%: the engine is in very poor condition.
If the measured leakage is significant:
A high percentage of cylinder leak is a sign of an internal engine problem. From now on, it is possible to locate with precision the motor section that contributes to this result. While leaving the air pressure applied in the test cylinder, a series of small observations can be carried out.
• Unscrew the radiator cap; bubbles escaping from the coolant indicate a cylinder head gasket leak, a crack in the cylinder head, or the engine block.
• If you hear air coming out of the intake system (throttle body), this indicates a leak in the intake valves. Inspect the valve clearance. If nothing has changed after the valve clearance adjustment, that means the leak comes from the valve itself or the valve seat. Beware of the crankcase ventilation tube (PVC valve) connected to the air filter and intake housing. We suggest plugging them for this step and the following ones.
• If air is leaking from the exhaust pipe, it indicates a leak through an exhaust valve. Again, adjustment of the valve clearance is necessary. If the situation remains the same, suspect the valve or its seat.
• If air is coming out of the oil filler cap or dipstick tube, it indicates a leak caused by worn piston rings or cylinder walls. However, it is normal to have small leaks from the piston rings.
• In the case of a twin-cylinder engine, if air escapes from an adjacent spark plug hole, it may indicate a blown head gasket.
Some symptoms are obvious. An engine that throws out a very smelly blue smoke indeed confirms that the piston rings or valve stems are worn out. With other symptoms, it is more challenging to make an accurate diagnosis. With these simple tests performed only from the spark plug hole, the diagnostic accuracy is impressive. And with a little more experience, you can even speculate the repair costs without disassembling the engine.
Finally, if the test results are per the manufacturer’s specifications, you will probably have to look at something other than the engine. Sometimes we jump too quickly to the worst conclusion.